- Java數字影像處理
- DIP - 首頁
- DIP - 簡介
- DIP - Java BufferedImage類
- DIP - 影像下載與上傳
- DIP - 影像畫素
- DIP - 灰度轉換
- DIP - 增強影像對比度
- DIP - 增強影像亮度
- DIP - 增強影像銳度
- DIP - 影像壓縮技術
- DIP - 新增影像邊框
- DIP - 影像金字塔
- DIP - 基本閾值化
- DIP - 影像形狀轉換
- DIP - 高斯濾波器
- DIP - 方框濾波器
- DIP - 腐蝕與膨脹
- DIP - 水印
- DIP - 卷積理解
- DIP - Prewitt運算元
- DIP - Sobel運算元
- DIP - Kirsch運算元
- DIP - Robinson運算元
- DIP - Laplacian運算元
- DIP - 加權平均濾波器
- DIP - 建立縮放效果
- DIP - 開源庫
- DIP - OpenCV簡介
- DIP - OpenCV灰度轉換
- DIP - 顏色空間轉換
- DIP有用資源
- DIP - 快速指南
- DIP - 有用資源
- DIP - 討論
影像下載與上傳
本章我們將學習如何從網際網路下載影像,對影像進行一些影像處理技術,然後將處理後的影像上傳到伺服器。
下載影像
為了從網站下載影像,我們使用名為URL的Java類,它位於java.net包下。其語法如下:
String website = "https://tutorialspoint.tw";
URL url = new URL(website);
除了上述方法外,URL類中還有其他方法,簡要描述如下:
| 序號 | 方法與描述 |
|---|---|
| 1 |
public String getPath() 返回URL的路徑。 |
| 2 |
public String getQuery() 返回URL的查詢部分。 |
| 3 |
public String getAuthority() 返回URL的授權部分。 |
| 4 |
public int getPort() 返回URL的埠。 |
| 5 |
public int getDefaultPort() 返回URL協議的預設埠。 |
| 6 |
public String getProtocol() 返回URL的協議。 |
| 7 |
public String getHost() 返回URL的主機。 |
示例
以下示例演示瞭如何使用Java URL類從網際網路下載影像:
import java.io.FileOutputStream;
import java.io.IOException;
import java.io.InputStream;
import java.io.OutputStream;

import java.net.URL;

public class Download {

   public static void main(String[] args) throws Exception {

      try{
         String fileName = "digital_image_processing.jpg";
         String website = "https://tutorialspoint.tw/java_dip/images/"+fileName;

         System.out.println("Downloading File From: " + website);

         URL url = new URL(website);
         InputStream inputStream = url.openStream();
         OutputStream outputStream = new FileOutputStream(fileName);
         byte[] buffer = new byte[2048];

         int length = 0;

         while ((length = inputStream.read(buffer)) != -1) {
            System.out.println("Buffer Read of length: " + length);
            outputStream.write(buffer, 0, length);
         }

         inputStream.close();
         outputStream.close();

      } catch(Exception e) {
         System.out.println("Exception: " + e.getMessage());
      }
   }
}
輸出
執行上述程式碼後,將看到以下輸出。
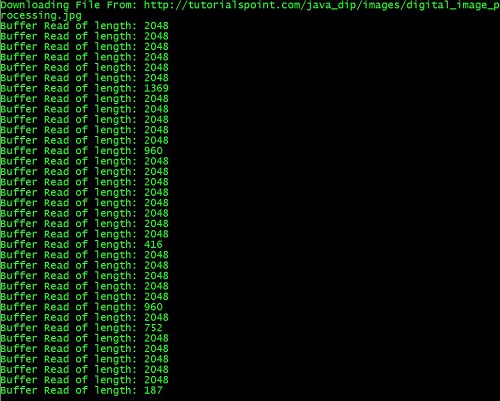
它將從伺服器下載以下影像。

上傳影像
讓我們看看如何將影像上傳到Web伺服器。我們將BufferedImage轉換為位元組陣列以便將其傳送到伺服器。
我們使用Java類ByteArrayOutputStream,它位於java.io包下。其語法如下:
ByteArrayOutputStream baos = new ByteArrayOutputStream();
ImageIO.write(image, "jpg", baos);
為了將影像轉換為位元組陣列,我們使用ByteArrayOutputStream類的toByteArray()方法。其語法如下:
byte[] bytes = baos.toByteArray();
除了上述方法外,ByteArrayOutputStream類中還有其他方法,簡要描述如下:
| 序號 | 方法與描述 |
|---|---|
| 1 |
public void reset() 此方法將位元組陣列輸出流的有效位元組數重置為零,以便丟棄流中所有累積的輸出。 |
| 2 |
public byte[] toByteArray() 此方法建立一個新分配的位元組陣列。其大小將是輸出流的當前大小,緩衝區的內容將被複制到其中。它返回輸出流的當前內容作為位元組陣列。 |
| 3 |
public String toString() 將緩衝區內容轉換為字串。轉換將根據預設字元編碼進行。它返回從緩衝區內容轉換的字串。 |
| 4 |
public void write(int w) 它將指定的陣列寫入輸出流。 |
| 5 |
public void write(byte []b, int of, int len) 它將從偏移量off開始的len個位元組寫入流。 |
| 6 |
public void writeTo(OutputStream outSt) 它將此流的全部內容寫入指定的流引數。 |
示例
以下示例演示瞭如何使用ByteArrayOutputStream將影像上傳到伺服器:
客戶端程式碼
import javax.swing.*;
import java.net.*;
import java.awt.image.*;
import javax.imageio.*;
import java.io.*;
import java.awt.image.BufferedImage;
import java.io.ByteArrayOutputStream;
import java.io.File;
import java.io.IOException;
import javax.imageio.ImageIO;

public class Client{
   public static void main(String args[]) throws Exception{

      Socket soc;
      BufferedImage img = null;
      soc=new Socket("localhost",4000);
      System.out.println("Client is running. ");

      try {
         System.out.println("Reading image from disk. ");
         img = ImageIO.read(new File("digital_image_processing.jpg"));
         ByteArrayOutputStream baos = new ByteArrayOutputStream();

         ImageIO.write(img, "jpg", baos);
         baos.flush();

         byte[] bytes = baos.toByteArray();
         baos.close();

         System.out.println("Sending image to server. ");

         OutputStream out = soc.getOutputStream();
         DataOutputStream dos = new DataOutputStream(out);

         dos.writeInt(bytes.length);
         dos.write(bytes, 0, bytes.length);

         System.out.println("Image sent to server. ");

         dos.close();
         out.close();

      } catch (Exception e) {
         System.out.println("Exception: " + e.getMessage());
         soc.close();
      }
      soc.close();
   }
}
伺服器程式碼
import java.net.*;
import java.io.*;
import java.awt.image.*;

import javax.imageio.*;
import javax.swing.*;

class Server {
   public static void main(String  args[]) throws Exception{
      ServerSocket server=null;
      Socket socket;
      server = new ServerSocket(4000);
      System.out.println("Server Waiting for image");

      socket = server.accept();
      System.out.println("Client connected.");

      InputStream in = socket.getInputStream();
      DataInputStream dis = new DataInputStream(in);

      int len = dis.readInt();
      System.out.println("Image Size: " + len/1024 + "KB");

      byte[] data = new byte[len];
      dis.readFully(data);
      dis.close();
      in.close();

      InputStream ian = new ByteArrayInputStream(data);
      BufferedImage bImage = ImageIO.read(ian);

      JFrame f = new JFrame("Server");
      ImageIcon icon = new ImageIcon(bImage);
      JLabel l = new JLabel();

      l.setIcon(icon);
      f.add(l);
      f.pack();
      f.setVisible(true);
   }
}
輸出
客戶端輸出
執行客戶端程式碼後,客戶端將顯示以下輸出:

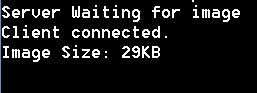
伺服器端輸出
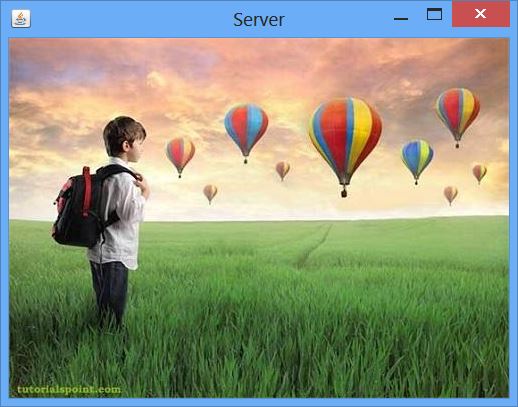
執行伺服器程式碼後,伺服器端將顯示以下輸出:
伺服器接收影像後,將顯示如下影像: