- FastAPI 教程
- FastAPI - 主頁
- FastAPI - 簡介
- FastAPI - Hello World
- FastAPI - OpenAPI
- FastAPI - Uvicorn
- FastAPI - 型別提示
- FastAPI - IDE 支援
- FastAPI - REST 架構
- FastAPI - 路徑引數
- FastAPI - 查詢引數
- FastAPI - 引數驗證
- FastAPI - Pydantic
- FastAPI - 請求主體
- FastAPI - 模板
- FastAPI - 靜態檔案
- FastAPI - HTML 表單模板
- FastAPI - 訪問表單資料
- FastAPI - 上傳檔案
- FastAPI - Cookie 引數
- FastAPI - 標頭引數
- FastAPI - 響應模型
- FastAPI - 巢狀模型
- FastAPI - 依賴項
- FastAPI - CORS
- FastAPI - CRUD 操作
- FastAPI - SQL 資料庫
- FastAPI - 使用 MongoDB
- FastAPI - 使用 GraphQL
- FastAPI - Websocket
- FastAPI - FastAPI 事件處理程式
- FastAPI - 掛載子應用
- FastAPI - 中介軟體
- FastAPI - 掛載 Flask 應用
- FastAPI - 部署
- FastAPI 有用資源
- FastAPI - 快速指南
- FastAPI - 有用資源
- FastAPI - 討論
FastAPI - 上傳檔案
首先,要向伺服器傳送檔案,需要將 HTML 表單的 enctype 設為 multipart/form-data,並將 input 型別設為 file 以渲染一個按鈕,單擊該按鈕後,你可以從檔案系統中選擇檔案。
<html>
   <body>
      <form action="https://:8000/uploader" method="POST" enctype="multipart/form-data">
         <input type="file" name="file" />
         <input type="submit"/>
      </form>
   </body>
</html>
請注意,表單的 action 引數為端點 https://:8000/uploader,並且 method 設為 POST。
此 HTML 表單使用以下程式碼作為模板進行渲染 −
from fastapi import FastAPI, File, UploadFile, Request
import uvicorn
import shutil
from fastapi.responses import HTMLResponse
from fastapi.templating import Jinja2Templates
app = FastAPI()
templates = Jinja2Templates(directory="templates")
@app.get("/upload/", response_class=HTMLResponse)
async def upload(request: Request):
   return templates.TemplateResponse("uploadfile.html", {"request": request})
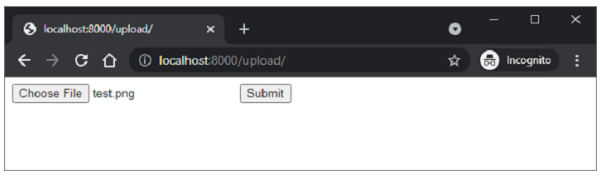
訪問 https://:8000/upload/。你應該會看到包含選擇檔案按鈕的表單。單擊該按鈕以開啟要上傳的檔案。
上傳操作由 FastAPI 中的 UploadFile 函式處理
from fastapi import FastAPI, File, UploadFile
import shutil
@app.post("/uploader/")
async def create_upload_file(file: UploadFile = File(...)):
   with open("destination.png", "wb") as buffer:
      shutil.copyfileobj(file.file, buffer)
   return {"filename": file.filename}
在 FastAPI 中我們將使用shutil庫將接收到的檔案複製到伺服器位置,檔名為destination.png
廣告