- Google Plus 教程
- Google Plus - 首頁
- Google Plus - 簡介
- Google Plus - 人脈拓展
- Google Plus - 圈子
- Google Plus - 社群
- Google Plus - 見面會
- Google Plus - 活動
- Google Plus - 釋出內容
- Google Plus - 上傳帖子
- Google Plus - 編輯帖子
- Google Plus - 刪除帖子
- Google Plus - 重新分享帖子
- Google Plus - 報告帖子
- 培養使用者參與度
- Google Plus - 檢視通知
- Google Plus - 新增管理員
- Google Plus - 設定設定
- Google Plus - 通知設定
- Google Plus - 圈子設定
- Google Plus - 照片和影片設定
- Google Plus - 個人資料設定
- Google Plus - 刪除賬戶
- Google Plus - 洞察
- Google Plus - 最佳化流程
- Google Plus - 最佳化頁面
- Google Plus - 認領個性化網址
- Google Plus - +帖子廣告
- Google Plus - 整合流程
- Google Plus - 徽章
- Google Plus - 建立徽章
- 連線 YouTube
- Google Plus - 社交連結
- Google Plus 有用資源
- Google Plus - 快速指南
- Google Plus - 有用資源
- Google Plus - 討論
Google Plus - 認領個性化網址
自定義網址對於讓人們能夠輕鬆記住並快速找到我們的 Google+ 個人資料地址至關重要。它將使用我們的姓名加上一些字母/數字生成,以確保個人資料名稱的唯一性。
請確保建立唯一的自定義網址,因為以後將無法更改。這些網址高階且易於識別。
獲取 Google+ 個人資料的自定義網址
步驟 1 - 開啟 Google+ 賬戶。
步驟 2 - 在左上角,點選漢堡包 ![]() 圖示。
圖示。
步驟 3 - 選擇“個人資料”選項。
步驟 4 - 檢查個人資料附近,有一個“關於”選項。點選它。
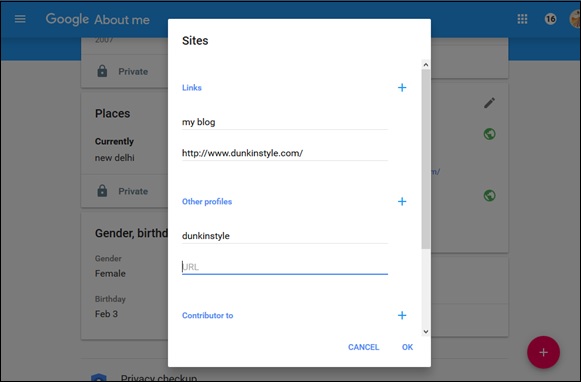
步驟 5 - 向下滾動到“連結”並搜尋標題“google+網址”。
步驟 6 - 點選“獲取網址”。
步驟 7 - 檢視可供選擇的自定義網址選項。請務必透過新增特殊數字和字母來確保其唯一性。
步驟 8 - 接下來,點選“我同意服務條款”。
步驟 9 - 點選“更改網址”。
該服務將要求我們使用手機號碼驗證我們的賬戶。
步驟 10 - 輸入號碼並點選“傳送驗證碼”。
步驟 11 - 檢查並輸入驗證碼,然後點選“驗證”。
步驟 12 - 請務必記住,以後無法更改網址,因此請謹慎操作並點選“確認選擇”。
注意 - 我們無法更改自定義網址,但是可以選擇更改要大寫的字母或要使用的重音符號。
獲取個人資料自定義網址的條件
以下是根據 Google+ 政策獲取自定義網址需要滿足的條件。
- 賬戶必須至少存在 30 天。
- 個人資料頁面應具有頭像。
- 賬戶應擁有 10 位或以上關注者。
- 賬戶應具備良好的信譽。
Google+ 企業頁面的自定義網址
要獲得企業自定義網址,Google+ 頁面必須是經過驗證的企業頁面。如果頁面連結到網站,也可以獲得自定義網址。如果頁面滿足其中任何一項要求,我們將在頁面頂部收到通知。
開啟 Google+ 賬戶後,轉到“企業頁面”。選中“我同意服務條款”框。此政策中將包含三個關鍵要素。
Google 有權“出於任何原因,恕不另行通知,收回自定義網址或將其刪除”。
您可以免費獲得自定義網址,但 Google“可能會開始對網址收取費用”。
您的自定義網址不得包含違反 Google 政策的冒犯性文字或短語。