- React Native 教程
- React Native - 主頁
- 核心概念
- React Native - 概述
- React Native - 環境設定
- React Native - 應用
- React Native - 狀態
- React Native - 屬性
- React Native - 樣式
- React Native - Flexbox
- React Native - ListView
- React Native - 文字輸入
- React Native - ScrollView
- React Native - 圖片
- React Native - HTTP
- React Native - 按鈕
- React Native - 動畫
- React Native - 除錯
- React Native - 路由
- React Native - 執行 iOS
- React Native - 執行 Android
- 元件和 API
- React Native - View
- React Native - WebView
- React Native - Modal
- React Native - ActivityIndicator
- React Native - Picker
- React Native - 狀態列
- React Native - Switch
- React Native - Text
- React Native - Alert
- React Native - 地理位置
- React Native - AsyncStorage
- React Native 有用資源
- React Native - 快速指南
- React Native - 有用資源
- React Native - 討論
React Native - 圖片
在本章中,我們將瞭解如何在 React Native 中處理圖片。
新增圖片
讓我們在 src 資料夾內建立一個新的資料夾 img。我們將在該資料夾內新增我們的圖片 (myImage.png)。
我們將在主螢幕上顯示圖片。
App.js
import React from 'react';
import ImagesExample from './ImagesExample.js'

const App = () => {
   return (
      <ImagesExample />
   )
}
export default App
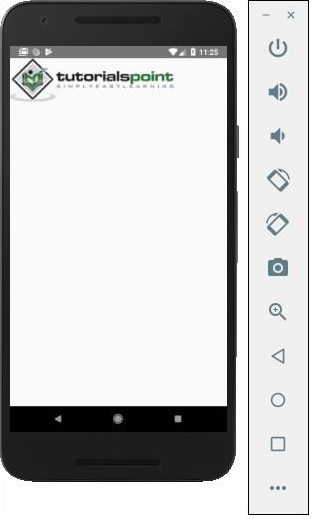
可以使用以下語法訪問本地圖片。
image_example.js
import React, { Component } from 'react'
import { Image } from 'react-native'

const ImagesExample = () => (
   <Image source = {require('C:/Users/Tutorialspoint/Desktop/NativeReactSample/logo.png')} />
)
export default ImagesExample
輸出
螢幕密度
React Native 提供了一種使用 @2x、@3x 字尾為不同裝置最佳化圖片的方式。程式只加載特定螢幕密度需要的圖片。
以下將是 img 資料夾中圖片的名稱。
my-image@2x.jpg
my-image@3x.jpg
網路圖片
使用網路圖片時,需要 source 屬性,而不是 require。建議為網路圖片定義 width 和 height。
App.js
import React from 'react';
import ImagesExample from './image_example.js'

const App = () => {
   return (
      <ImagesExample />
   )
}
export default App
image_example.js
import React, { Component } from 'react'
import { View, Image } from 'react-native'

const ImagesExample = () => (
   <Image source = {{uri:'https://pbs.twimg.com/profile_images/486929358120964097/gNLINY67_400x400.png'}}
   style = {{ width: 200, height: 200 }}
   />
)
export default ImagesExample
輸出

廣告