- Puppeteer 教程
- Puppeteer - 首頁
- Puppeteer - 簡介
- Puppeteer - 元素處理
- Puppeteer - Google 使用
- Puppeteer - NodeJS 安裝
- Puppeteer VS Code 配置
- Puppeteer - 安裝
- Puppeteer - 基本測試
- Puppeteer - 無頭模式執行
- Puppeteer 與 Selenium 的比較
- Puppeteer 與 Protractor 的比較
- Puppeteer 與 Cypress 的比較
- Puppeteer - 瀏覽器操作
- Puppeteer - 標籤頁處理
- Puppeteer - 基本命令
- Puppeteer - Firefox
- Puppeteer - Chrome
- Puppeteer - 處理確認彈窗
- Puppeteer - 處理下拉選單
- Puppeteer - 定位器
- Puppeteer - XPath 函式
- Puppeteer - XPath 屬性
- Puppeteer - XPath 分組
- Puppeteer - 絕對 XPath
- Puppeteer - 相對 XPath
- Puppeteer - XPath 軸
- Puppeteer - 型別選擇器
- 名稱選擇器 & 類名選擇器
- Puppeteer - ID 選擇器
- Puppeteer - 屬性選擇器
- Puppeteer - 處理連結/按鈕
- 處理編輯框 & 複選框
- Puppeteer - 處理框架
- Puppeteer - 鍵盤模擬
- Puppeteer - 獲取元素文字
- Puppeteer - 獲取元素屬性
- Puppeteer - 裝置模擬
- Puppeteer - 停用 JavaScript
- Puppeteer - 同步
- Puppeteer - 擷取螢幕截圖
- Puppeteer 有用資源
- Puppeteer - 快速指南
- Puppeteer - 有用資源
- Puppeteer - 討論
Puppeteer - 安裝
Puppeteer 的安裝步驟如下:
步驟 1 - 安裝 NodeJS。
有關如何安裝 NodeJs 的詳細資訊在 NodeJS 安裝章節中進行了詳細討論。
步驟 2 - 在某個位置建立一個空資料夾,例如 puppeteer。
步驟 3 - 啟動 Visual Studio Code 應用程式,點選“開啟資料夾”連結,並匯入我們在步驟 2 中建立的資料夾。
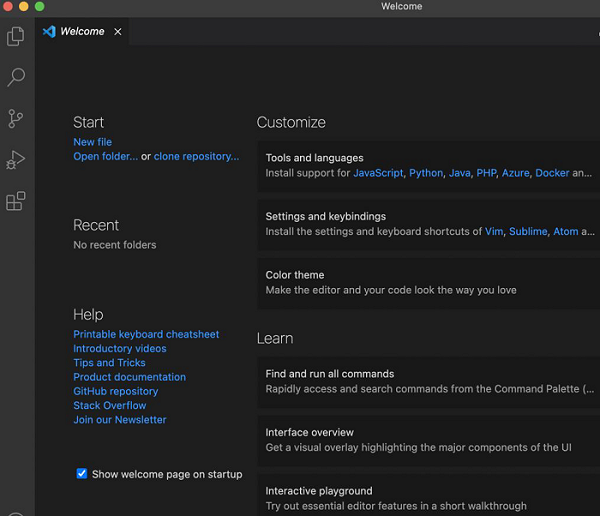
有關如何安裝 VS Code 的詳細資訊在 VS Code 配置章節中進行了詳細討論。
步驟 4 - 開啟終端,從當前目錄切換到我們在步驟 2 中建立的空資料夾的目錄。然後執行以下命令:
npm
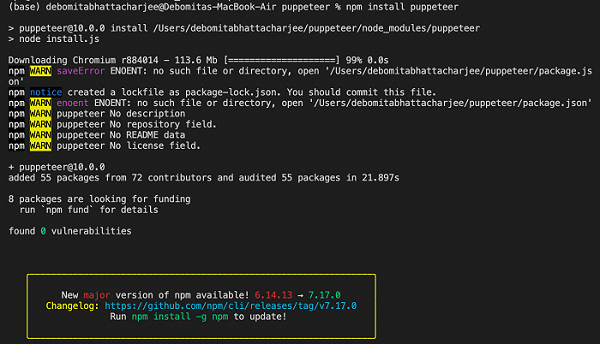
步驟 5 - 對於 Puppeteer 安裝,執行以下命令:
npm install puppeteer
或者,
npm i puppeteer
步驟 6 - 對於 Puppeteer core 的安裝,執行以下命令:
npm i puppeteer-core
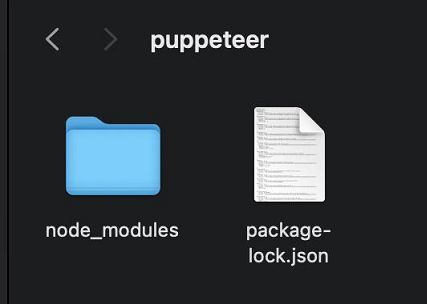
步驟 7 - 在安裝 Puppeteer 和 Puppeteer core 後,我們將在我們在步驟 2 中建立的空資料夾中找到生成的 node_modules 資料夾和 package.json 檔案。
步驟 8 - 在進行測試時,我們需要在程式碼中新增以下 Puppeteer 庫。
const pt = require('puppeteer')
廣告