- Scikit Image 教程
- Scikit Image - 簡介
- Scikit Image - 影像處理
- Scikit Image - NumPy 影像
- Scikit Image - 影像資料型別
- Scikit Image - 使用外掛
- Scikit Image - 影像處理
- Scikit Image - 讀取影像
- Scikit Image - 寫入影像
- Scikit Image - 顯示影像
- Scikit Image - 影像集合
- Scikit Image - 影像堆疊
- Scikit Image - 多影像
Scikit Image - NumPy 影像
NumPy(也稱為“數值 Python”)是 Python 中用於數值計算的最重要的基礎包之一。NumPy 的核心資料結構是 ndarray(N 維陣列),它是由相同資料型別元素組成的同構集合。這些陣列可以是任何維度,例如 1D、2D 或更高維度的陣列。NumPy 提供了大量數學函式,可以高效地對這些 N 維陣列進行操作。
在 scikit-image 中,影像表示為 NumPy ndarrays(多維陣列)。scikit-image 庫構建在 NumPy 之上,它使用 NumPy 陣列來表示影像。因此,scikit-image 庫可以有效地執行各種影像處理任務。
將影像表示為 NumPy 陣列
將影像表示為 NumPy 陣列,提供了一種方便且高效的方式來儲存和操作影像資料。
這裡,NumPy 陣列的維度對應於影像維度,例如高度、寬度和顏色通道。對於灰度影像,陣列通常是二維的(高度 x 寬度)。對於彩色影像,陣列是三維的(高度 x 寬度 x 3),其中最後一個維度表示紅色、綠色和藍色顏色通道。
示例 1
以下示例演示瞭如何在 scikit-image 中將彩色影像表示為 NumPy 陣列。
from skimage import io
# Read an image as a grayscale image
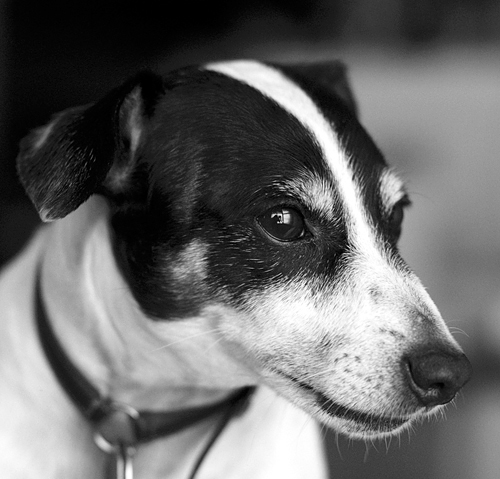
img_array = io.imread('Images/Dog.jpg')
# Display image properties from the image array
print('The following are the properties of the loaded image:')
print("Data type of the image object:", type(img_array))
print("Image shape:", img_array.shape)
print("Image data type:", img_array.dtype)
輸入影像
輸出
The following are the properties of the loaded image:
Data type of the image object: <class 'numpy.ndarray'>
Image shape: (479, 500, 3)
Image data type: uint8
示例 2
讓我們看看灰度影像的 NumPy 陣列表示。
from skimage import io

# Read an image as a grayscale image
img_array = io.imread('Images/dog.jpg', as_gray=True)

# Display image properties from the image array
print('The following are the properties of the loaded image:')

print("Data type of the image object:", type(img_array))
print("Image shape:", img_array.shape)
print("Image data type:", img_array.dtype)
輸出
The following are the properties of the loaded image:
Data type of the image object: <class 'numpy.ndarray'>
Image shape: (479, 500)
Image data type: float64
索引和切片
NumPy 的索引和切片功能可用於訪問和操作影像資料。透過使用 NumPy 的靈活索引和切片語法,可以裁剪影像、選擇特定的顏色通道或對影像中特定區域應用操作。
示例
以下示例演示瞭如何在 Scikit-image 中使用 NumPy 的索引和切片語法來修改影像。
from skimage import io

# Read an image as a grayscale image
img_array = io.imread('Images/Tajmahal.jpg')

# Get the value of the pixel at the 10th row and 20th column
pixel_value = img_array[10, 20]
print('The pixel at the 10th row and 20th column of the image array', pixel_value)

# Set value 0 to the pixel at the 3rd row and 10th column
img_array[3, 10] = 0

# Select a region in the image
roi = img_array[100:200, 200:300]

# Set the pixel values in the selected region to red (255, 0, 0)
roi[:] = (255, 0, 0)

# Display the modified image
io.imshow(img_array)
io.show()
輸入影像

輸出
執行以上程式碼將得到以下結果:
The pixel at the 10th row and 20th column of the image array [ 81 97 110]
此外,它還會生成以下影像:

廣告