
 資料結構
資料結構 網路
網路 關係資料庫管理系統
 作業系統
作業系統 Java
Java iOS
iOS HTML
HTML CSS
CSS Android
 Python
 C 語言程式設計
 C++
C++ C#
C# MongoDB
 MySQL
MySQL Javascript
 PHP
PHP如何在 OpenCV Python 中匹配影像形狀?
我們使用cv2.matchShapes()函式來匹配兩個影像形狀。此函式返回一個度量值,顯示影像形狀之間的相似度。此函式使用 Hu 不變數來計算度量值。度量值越低,影像形狀之間的相似度越高。
在以下示例中,我們將匹配來自不同影像的形狀以及來自單個影像的形狀。
語法
我們使用以下語法來匹配兩個影像形狀:
ret = cv2.matchShapes(cnt1,cnt1,1,0.0)
其中,
cnt1 - 第一個影像形狀的輪廓點。
cnt2 - 第二個影像形狀的輪廓點
步驟
您可以使用以下步驟來匹配兩個影像形狀:
匯入所需的庫。在所有以下 Python 示例中,所需的 Python 庫是OpenCV。確保您已安裝它。
import cv2
使用cv2.imread()讀取輸入影像作為灰度影像。
img1 = cv2.imread('star.png',0)
img2 = cv2.imread('star1.png',0)
對灰度影像應用閾值處理以建立二值影像。
ret,thresh1 = cv2.threshold(img1,150,255,0)
ret,thresh2 = cv2.threshold(img1,150,255,0)
使用cv2.findContours()函式查詢二值影像中形狀的輪廓。
contours1, _ = cv2.findContours(thresh1, cv2.RETR_TREE, cv2.CHAIN_APPROX_SIMPLE)
contours2, _ = cv2.findContours(thresh2, cv2.RETR_TREE, cv2.CHAIN_APPROX_SIMPLE)
從每個影像中選擇特定的輪廓,並應用形狀匹配函式cv2.matchShapes()傳遞選定的輪廓。
cnt1=contours1[0]
cnt2=contours2[0]
ret12 = cv2.matchShapes(cnt1, cnt2, 1, 0.0)
列印結果值,即影像形狀匹配度量。值越低,匹配度越好。
print("Matching Image 1 with Image 2:", ret12)
讓我們看一些示例,以便更好地理解。
示例 1
在此程式中,我們匹配兩個影像形狀。每個影像包含一個形狀。我們還匹配每個影像中形狀本身。
# import required libraries
import cv2

# Read two images as grayscale images
img1 = cv2.imread('star.png',0)
img2 = cv2.imread('star1.png',0)

# Apply thresholding on the images to convert to binary images
ret, thresh1 = cv2.threshold(img1, 127, 255,0)
ret, thresh2 = cv2.threshold(img2, 127, 255,0)

# find the contours in the binary image
contours1,hierarchy = cv2.findContours(thresh1,cv2.RETR_TREE,cv2.CHAIN_APPROX_SIMPLE)
print("Number of Shapes detected in Image 1:",len(contours))
cnt1 = contours1[0]

contours2,hierarchy = cv2.findContours(thresh2,cv2.RETR_TREE,cv2.CHAIN_APPROX_SIMPLE)
print("Number of Shapes detected in Image 2:",len(contours))
cnt2 = contours2[0]

# Compute the match scores
ret11 = cv2.matchShapes(cnt1,cnt1,1,0.0)
ret22 = cv2.matchShapes(cnt2,cnt2,1,0.0)
ret12 = cv2.matchShapes(cnt1,cnt2,1,0.0)

# print the matching scores
print("Matching Image 1 with itself:", ret11)
print("Matching Image 2 with itself:", ret22)
print("Matching Image 1 with Image 2:", ret12)
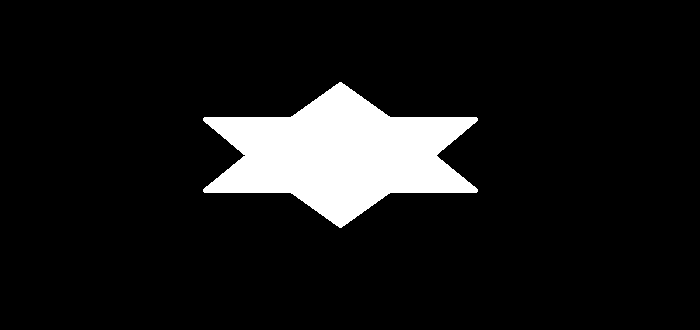
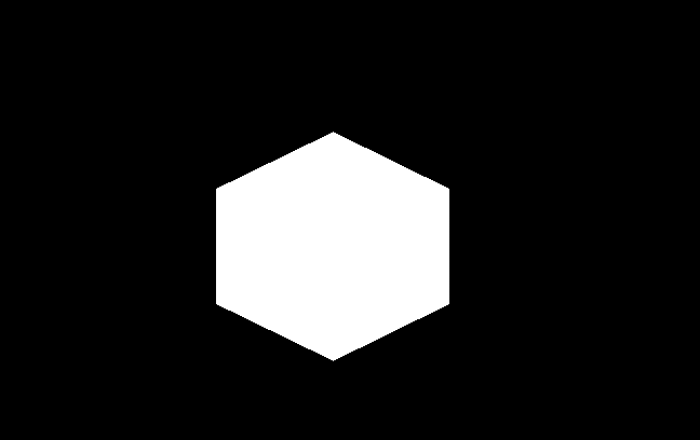
將以下影像視為上述程式中提到的“star.png”和“pentagon.png”輸入影像。
輸出
執行後,以上程式碼將產生以下輸出:
Number of Shapes detected in Image 1: 1
Number of Shapes detected in Image 2: 1
Matching Image 1 with itself: 0.0
Matching Image 2 with itself: 0.0
Matching Image 1 with Image 2: 0.6015851094057714
示例 2
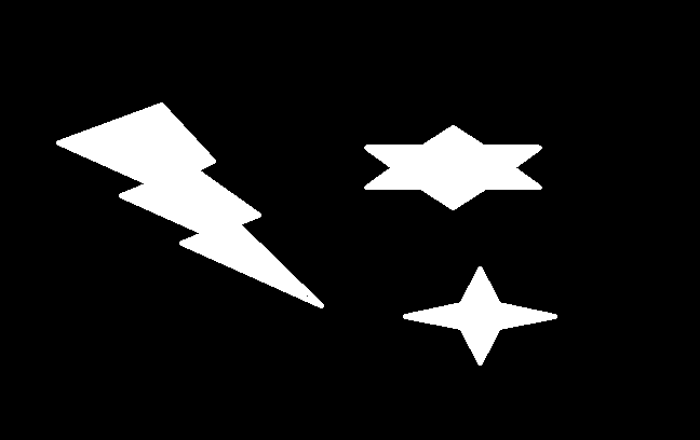
在此程式中,我們匹配影像中的形狀。我們在影像中檢測到三個形狀。
import cv2
import numpy as np
img = cv2.imread('convexhull.png')
gray = cv2.cvtColor(img, cv2.COLOR_BGR2GRAY)

ret,thresh = cv2.threshold(gray,100,255,0)
contours,hierarchy = cv2.findContours(thresh, cv2.RETR_TREE,cv2.CHAIN_APPROX_SIMPLE)
print("Number of Shapes detected:",len(contours))

# draw contour and shape number
for i, cnt in enumerate(contours):
   M = cv2.moments(cnt)
   x1, y1 = cnt[0,0]
   img1 = cv2.drawContours(img, [cnt], -1, (0,255,255), 3)
   cv2.putText(img1, f'Shape:{i+1}', (x1, y1), cv2.FONT_HERSHEY_SIMPLEX, 0.6, (0, 255, 0), 2)

cnt1 = contours[0]
cnt2 = contours[1]
cnt3= contours[2]

ret11 = cv2.matchShapes(cnt1,cnt1,1,0.0)
ret12 = cv2.matchShapes(cnt1,cnt2,1,0.0)
ret23 = cv2.matchShapes(cnt2,cnt3,1,0.0)
ret31 = cv2.matchShapes(cnt3,cnt1,1,0.0)

print("Matching Shape 1 with itself:", ret11)
print("Matching Shape 1 with Shape 2:", ret12)
print("Matching Shape 2 with Shape 3:", ret23)
print("Matching Shape 3 with Shape 1:", ret31)

cv2.imshow("Shapes", img)
cv2.waitKey(0)
cv2.destroyAllWindows()
我們將在本程式中使用以下影像和輸入檔案:
輸出
執行後,以上程式碼將產生以下輸出:
Number of Shapes detected: 3
Matching Shape 1 with itself: 0.0
Matching Shape 1 with Shape 2: 0.15261042892128207
Matching Shape 2 with Shape 3: 0.9192709496955178
Matching Shape 3 with Shape 1: 0.7521097407160106
並且我們得到以下視窗,顯示輸出:

根據以上結果,我們得出結論,形狀 1 比形狀 3 更類似於形狀 2。

更新於: 2022-09-28
6K+ 次檢視

廣告