- ASP.NET Core 教程
- ASP.NET Core - 首頁
- ASP.NET Core - 概述
- ASP.NET Core - 環境設定
- ASP.NET Core - 新建專案
- ASP.NET Core - 專案佈局
- ASP.NET Core - Project.Json
- ASP.NET Core - 配置
- ASP.NET Core - 中介軟體
- ASP.NET Core - 異常處理
- ASP.NET Core - 靜態檔案
- ASP.NET Core - 設定 MVC
- ASP.NET Core - MVC 設計模式
- ASP.NET Core - 路由
- ASP.NET Core - 屬性路由
- ASP.NET Core - 操作結果
- ASP.NET Core - 檢視
- 設定 Entity Framework
- ASP.NET Core - DBContext
- ASP.NET Core - Razor 佈局檢視
- ASP.NET Core - Razor 檢視啟動
- ASP.NET Core - Razor 檢視匯入
- ASP.NET Core - Razor 標籤助手
- ASP.NET Core - Razor 編輯表單
- ASP.NET Core - 身份概述
- ASP.NET Core - 授權屬性
- 身份配置
- ASP.NET Core - 身份遷移
- ASP.NET Core - 使用者註冊
- ASP.NET Core - 建立使用者
- ASP.NET Core - 登入和登出
- ASP.NET Core 有用資源
- ASP.NET Core - 快速指南
- ASP.NET Core - 有用資源
- ASP.NET Core - 討論
ASP.NET Core - 身份遷移
在本章中,我們將討論身份遷移。在 ASP.NET Core MVC 中,身份驗證和身份功能在 Startup.cs 檔案中配置。
public void ConfigureServices(IServiceCollection services) {
   services.AddMvc();
      services.AddEntityFramework()
      .AddSqlServer()
      .AddDbContext<FirstAppDemoDbContext>option.
      UseSqlServer(Configuration["database:connection"]));

   services.AddIdentity<User, IdentityRole>()
      .AddEntityFrameworkStores<FirstAppDemoDbContext>();
}
任何時候,如果您對其中一個實體類進行更改,或者對派生自 DBContext 的類進行更改,您都可能需要建立一個新的遷移指令碼應用到資料庫,並將模式與程式碼中的內容同步。
在我們的應用程式中就是這種情況,因為我們現在將 FirstAppDemoDbContext 類派生自 IdentityDbContext 類,並且它包含自己的 DbSet,它還將建立模式以儲存其管理的所有實體的相關資訊。
using Microsoft.AspNet.Identity.EntityFramework;
using Microsoft.Data.Entity;

namespace FirstAppDemo.Models {
   public class FirstAppDemoDbContext : IdentityDbContext<User> {
      public DbSet<Employee> Employees { get; set; }

      protected override void OnConfiguring(DbContextOptionsBuilder optionsBuilder) {
         optionsBuilder.UseSqlServer("Data Source = (localdb)\\MSSQLLocalDB;
            Initial Catalog = FirstAppDemo;Integrated Security = True;
            Connect Timeout = 30;Encrypt = False;
            TrustServerCertificate = True;ApplicationIntent = ReadWrite;
            MultiSubnetFailover = False");
      }
   }
}
現在讓我們開啟命令提示符,並確保我們位於專案專案的 project.json 檔案所在的目錄。
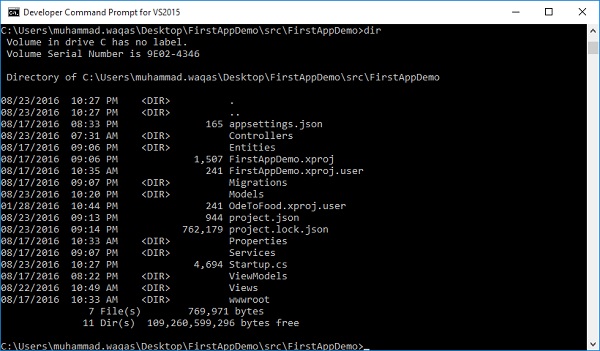
我們也可以透過鍵入 **dnx ef** 獲取 Entity Framework 命令。
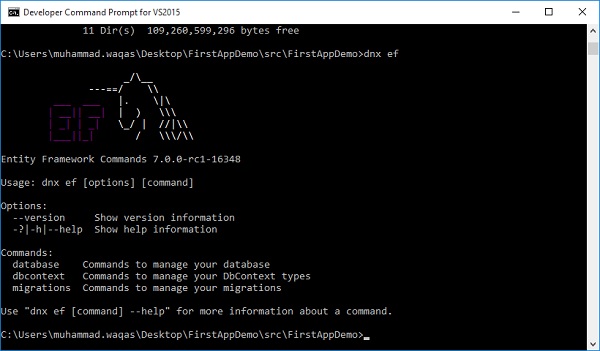
我們的 project.json 檔案有一個部分將此“ef”關鍵字與 EntityFramework.Commands 對映。
"commands": {
   "web": "Microsoft.AspNet.Server.Kestrel",
   "ef": "EntityFramework.Commands"
}
我們可以從此處新增遷移。我們還需要為遷移提供一個名稱。讓我們使用 v2 表示版本 2 並按 Enter 鍵。
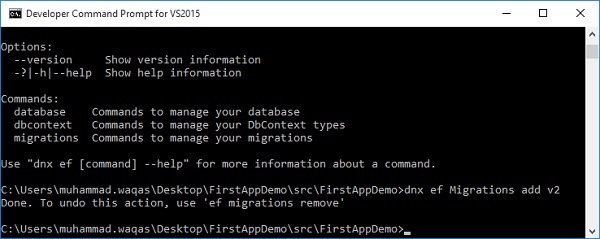
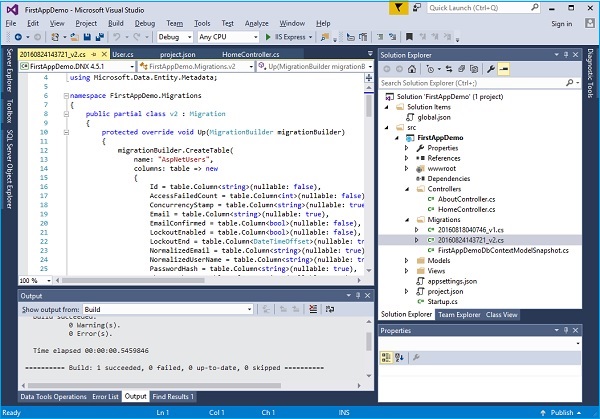
遷移完成後,您將在遷移資料夾中擁有一個 v2 檔案。
現在,我們要透過執行 **“dnx ef database update”** 命令將該遷移應用到我們的資料庫。
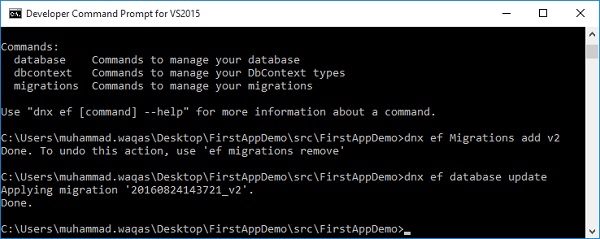
Entity Framework 將看到有一個需要應用的遷移,並且它將執行該遷移。
如果您進入 SQL Server 物件資源管理器,您將看到我們之前建立的 Employee 表。您還將看到一些其他表,這些表必須儲存使用者、宣告、角色以及一些將使用者對映到特定角色的對映表。
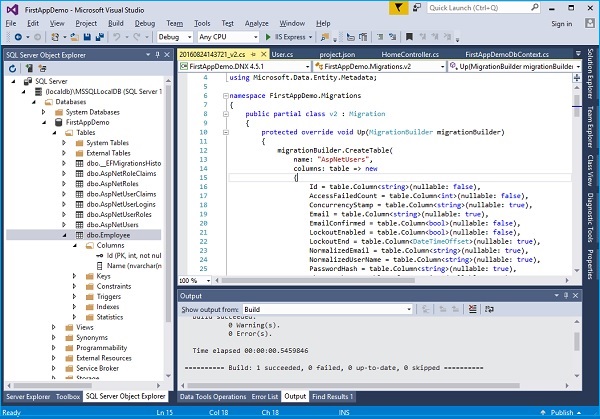
所有這些表都與 Identity 框架提供的實體相關。
讓我們快速檢視一下 **users 表**。
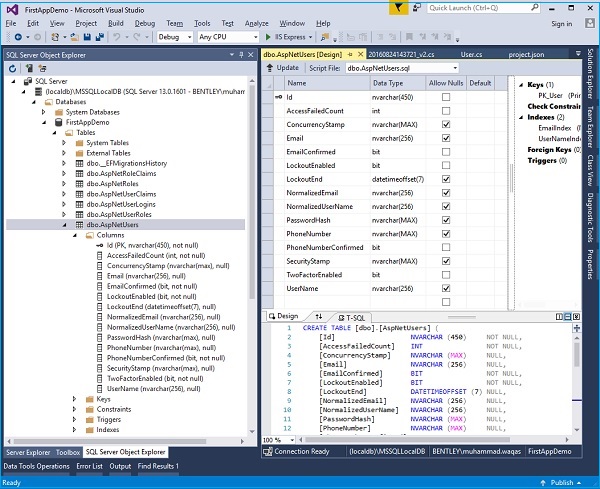
您現在可以看到 AspNetUsers 表中的列包括儲存我們在繼承的 Identity User 上看到的那些屬性的所有列,以及它的欄位,如 UserName 和 PasswordHash。因此,您一直在使用一些內建的身份服務,因為它們還包含建立使用者和驗證使用者密碼的功能。