- IndexedDB 教程
- IndexedDB - 首頁
- IndexedDB - 簡介
- IndexedDB - 安裝
- IndexedDB - 連線
- IndexedDB - 物件儲存
- IndexedDB - 建立資料
- IndexedDB - 讀取資料
- IndexedDB - 更新資料
- IndexedDB - 刪除資料
- 使用 getAll() 函式
- IndexedDB - 索引
- IndexedDB - 範圍
- IndexedDB - 事務
- IndexedDB - 錯誤處理
- IndexedDB - 搜尋
- IndexedDB - 遊標
- IndexedDB - Promise 包裝器
- IndexedDB - ECMAScript 繫結
- IndexedDB 有用資源
- IndexedDB - 快速指南
- IndexedDB - 有用資源
- IndexedDB - 討論
IndexedDB - 安裝
Visual Studio Code 是一個重新定義並針對構建和除錯現代 Web 和雲應用程式而最佳化的程式碼編輯器。
您可以從其官方網站下載 Visual Studio Code - https://vscode.com.tw
根據您的 PC 配置和作業系統選擇您想要的版本。
下載完成後,您可以直接將其安裝到您的計算機上。
在 Windows 上安裝 Visual Studio Code 安裝程式
首先,如上所述下載適用於 Windows 的 Visual Studio Code 安裝程式 -
- 下載完成後,執行安裝程式。

- 然後,接受協議並點選下一步。

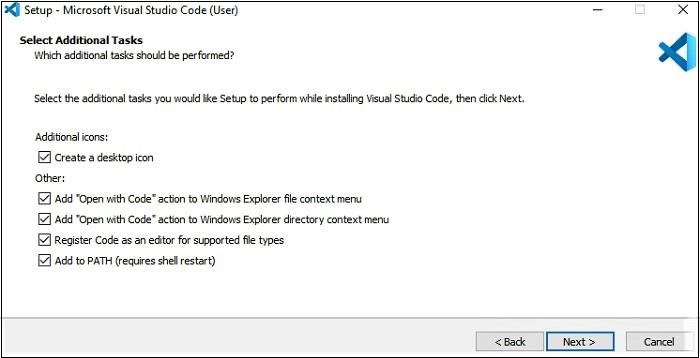
- 現在,點選“建立桌面圖示”,以便可以從桌面上訪問它,然後點選下一步。
- 然後,點選安裝按鈕。

最後,安裝完成後,點選完成按鈕,Visual Studio Code 將開啟。

- 現在 Visual Studio Code 已成功安裝在您的裝置上,開始使用此程式碼編輯器編寫程式碼。
下載、安裝和建立 Node.js 專案(可選)
現在安裝了 Visual Studio Code 後,我們需要安裝 Node.js
下載 Node.JS
您可以從其官方網站下載 Node.js,網址為 https://nodejs.com.tw/en/。
根據您的計算機配置選擇您選擇的版本。
LTS 版本更可取,因為它是一個更穩定的版本,代表長期支援 (Long Term Support)。
安裝 Node.js
按照以下步驟在您的系統中安裝 Node.js -
步驟 1 - Node.js 開啟後。您會看到此視窗彈出,點選下一步。

步驟 2 - 您將被重定向到“終端使用者許可協議”視窗。接受協議並點選下一步。

步驟 3 - 在下一個視窗中,您需要選擇“目標資料夾”。更改現有資料夾,或使用提到的預設資料夾,然後點選下一步。

步驟 4 - 在“自定義安裝”和“本地模組工具”視窗中點選下一步。
步驟 5 - 現在,設定已準備就緒,點選安裝以安裝選定的模組。

廣告