
 資料結構
資料結構 網路
網路 關係型資料庫管理系統
 作業系統
作業系統 Java
Java iOS
iOS HTML
HTML CSS
CSS Android
 Python
 C 程式設計
 C++
C++ C#
C# MongoDB
 MySQL
MySQL Javascript
 PHP
PHP解釋 React Native 中動畫的工作原理?
React Native 提供了一個 Animation 元件,有助於為可用的元件新增更多互動性。Animation 元件可用於為 View、Text、Image、ScrollView、FlatList 和 SectionList 新增動畫。
React Native 提供兩種型別的動畫:
- Animated API
- LayoutAnimation
Animated API
Animated API 幫助根據輸入/輸出提供基於時間的動畫。在本例中,我們將使用 Animated Timing API 動態更改框的寬度和高度。
要使用動畫,請匯入元件,如下所示:
import { Animated } from 'react-native'要使用 Animation,我們需要先對其進行配置,如下所示:
Animated.timing() 函式使用緩動函式,並且給定的值在時間上是動畫化的。使用的預設緩動函式是 easeInOut,您可以使用不同的函式或定義自己的函式。
Animated.timing() 函式的結構如下:
Animated.timing(animateparam, {
   toValue: 100,
   easing: easingfunc,
   duration: timeinseconds
}).start();
在本例中,我們將對 View 的寬度和高度進行動畫處理,因此我首先將其初始化如下:
animatedWidth 和 animatedHeight 在 componentWillMount 中初始化,如下所示:
componentWillMount = () => {
   this.animatedWidth = new Animated.Value(50)
   this.animatedHeight = new Animated.Value(100)
}
稍後新增 Animated.timing 函式,如下所示:
Animated.timing(this.animatedWidth, {
   toValue: 200,
   duration: 1000
}).start()
Animated.timing(this.animatedHeight, {
   toValue: 500,
   duration: 500
}).start()
動畫
TouchableOpacity 元件用於 onPress,當按下該元件時,將呼叫函式 this.animatedBox,該函式包含 Animated.timing 函式,該函式將執行動畫。當按下 TouchableOpacity 元件時,View 的寬度和高度將發生變化。
示例
import React, { Component } from 'react'
import { View, StyleSheet, Animated, TouchableOpacity } from 'react-native'
class Animations extends Component {
   componentWillMount = () => {
      this.animatedWidth = new Animated.Value(50)
      this.animatedHeight = new Animated.Value(100)
   }
   animatedBox = () => {
      Animated.timing(this.animatedWidth, {
      toValue: 200,
      duration: 1000
   }).start()
   Animated.timing(this.animatedHeight, {
      toValue: 500,
      duration: 500
   }).start()
}
render() {
   const animatedStyle = { width: this.animatedWidth, height:
   this.animatedHeight }
   return (
      <TouchableOpacity style = {styles.container} onPress =
         {this.animatedBox}>
      <Animated.View style = {[styles.box, animatedStyle]}/>
         </TouchableOpacity>
      )
   }
}
export default Animations
const styles = StyleSheet.create({
   container: {
      padding:100,
      justifyContent: 'center',
      alignItems: 'center'
   },
   box: {
      backgroundColor: 'gray',
      width: 50,
      height: 100
   }
})
輸出
以下是 iOS 和 Android 裝置上的檢視:
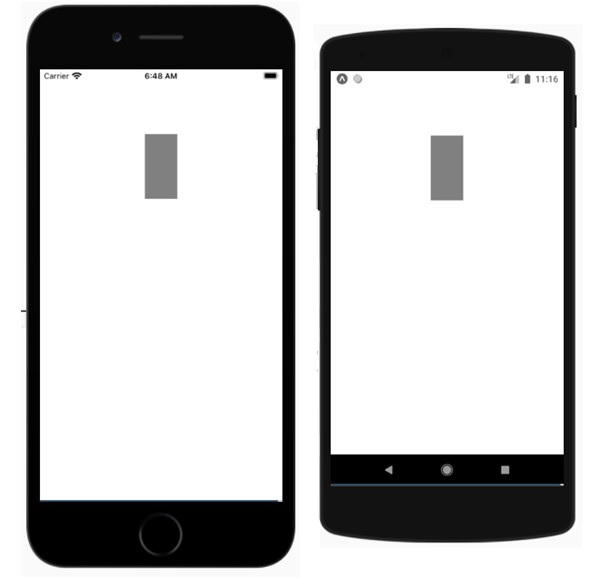
觸控灰色矩形框以檢視其動畫:

LayoutAnimation API
與 Animated API 相比,LayoutAnimation 提供了更多控制,並允許您全域性配置用於下一個渲染/佈局週期的檢視中的建立和更新動畫。
要使用 LayoutAnimation API,您需要按如下方式匯入它:
import { LayoutAnimation } from 'react-native';:示例:使用 LayoutAnimation
要使 LayoutAnimation 在 Android 上工作,您需要新增以下行:
UIManager.setLayoutAnimationEnabledExperimental &&
UIManager.setLayoutAnimationEnabledExperimental(true);
import React from 'react';
import {
   NativeModules,
   LayoutAnimation,
   Text,
   TouchableOpacity,
   StyleSheet,
   View,
} from 'react-native';
const { UIManager } = NativeModules;
UIManager.setLayoutAnimationEnabledExperimental &&
UIManager.setLayoutAnimationEnabledExperimental(true);
export default class App extends React.Component {
   state = {
      w: 50,
      h: 50,
   };
   animatecircle = () => {
      LayoutAnimation.spring();
      this.setState({w: this.state.w + 10, h: this.state.h + 10})
   }
   render() {
      return (
         <TouchableOpacity style = {styles.container} onPress={this.animatecircle}>
            <View style={[styles.circle, {width: this.state.w, height: this.state.h}]} />
               </TouchableOpacity>
         );
      }
   }
   const styles = StyleSheet.create({
      container: {
         flex: 1,
         alignItems: 'center',
         justifyContent: 'center',
   },
   circle: {
      width: 200,
      height: 200,
      borderRadius: '50%',
      backgroundColor: 'green',
   },
});
輸出

點選圓圈並檢視其動畫。


333 次瀏覽
