- Angular 2 教程
- Angular 2 - 主頁
- Angular 2 - 概覽
- Angular 2 - 環境
- Angular 2 - Hello World
- Angular 2 - 模組
- Angular 2 - 架構
- Angular 2 - 元件
- Angular 2 - 模板
- Angular 2 - 指令
- Angular 2 - 元資料
- Angular 2 - 資料繫結
- 使用 HTTP 的 CRUD 操作
- Angular 2 - 錯誤處理
- Angular 2 - 路由
- Angular 2 - 導航
- Angular 2 - 表單
- Angular 2 - CLI
- Angular 2 - 依賴注入
- Angular 2 - 高階配置
- Angular 2 - 第三方控制元件
- Angular 2 - 資料顯示
- Angular 2 - 處理事件
- Angular 2 - 轉換資料
- Angular 2 - 自定義管道
- Angular 2 - 使用者輸入
- Angular 2 - 生命週期鉤子
- Angular 2 - 巢狀容器
- Angular 2 - 服務
- Angular 2 實用資源
- Angular 2 - 常見問題解答
- Angular 2 - 快速指南
- Angular 2 - 實用資源
- Angular 2 - 討論
Angular 2 - 導航
在 Angular 2 中,也可以執行手動導航。以下為步驟。
步驟 1 − 向 Inventory.component.ts 檔案新增以下程式碼。
import { Component } from '@angular/core';
import { Router }  from '@angular/router';

@Component ({
   selector: 'my-app',
   template: 'Inventory
   <a class = "button" (click) = "onBack()">Back to Products</a>'
})

export class AppInventory {
   constructor(private _router: Router){}

   onBack(): void {
      this._router.navigate(['/Product']);
   }
}
需要注意以下有關上述程式的要點 −
宣告一個 html 標記,其中有一個 onBack 函式標記到 click 事件。因此,當用戶單擊此標記時,他們將被導回到 Products 頁面。
在 onBack 函式中,使用 router.navigate 導航到所需頁面。
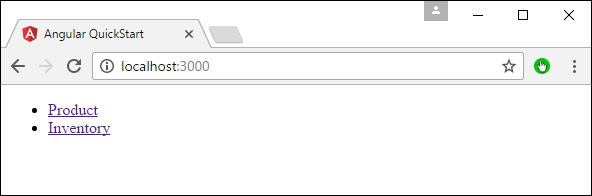
步驟 2 − 現在,儲存所有程式碼並使用 npm 執行應用程式。轉到瀏覽器,你將看到以下輸出。
步驟 3 − 單擊 Inventory 連結。
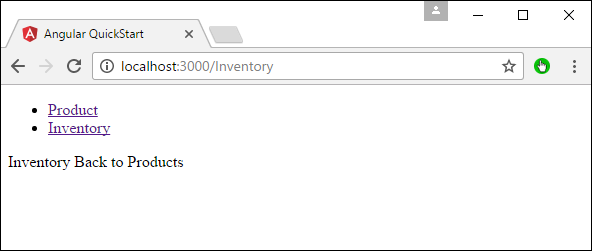
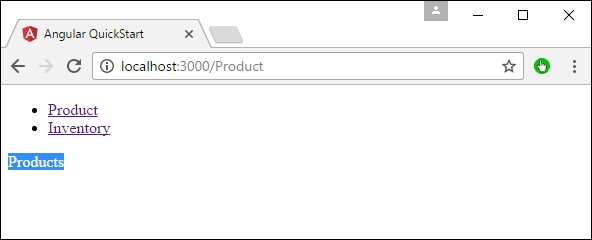
步驟 4 − 單擊“返回產品”連結,你將獲得以下輸出,該輸出將你帶回到 Products 頁面。
***廣告***