
 資料結構
資料結構 網路
網路 關係資料庫管理系統(RDBMS)
 作業系統
作業系統 Java
Java iOS
iOS HTML
HTML CSS
CSS Android
 Python
 C語言程式設計
 C++
C++ C#
C# MongoDB
 MySQL
MySQL Javascript
 PHP
PHP如何使用Python中的OpenCV更改影像的對比度和亮度?
在OpenCV中,要更改影像的對比度和亮度,我們可以使用cv2.convertScaleAbs()。此方法的語法如下:
cv2.convertScaleAbs(image, alpha, beta)
其中
image 是原始輸入影像。
alpha 是對比度值。要降低對比度,請使用 0 < alpha < 1。要提高對比度,請使用 alpha > 1。
beta 是亮度值。亮度值的良好範圍是 [-127, 127]
我們還可以應用cv2.addWeighted()函式來更改影像的對比度和亮度。我們在示例2中對此進行了討論。
步驟
要更改影像的對比度和亮度,您可以按照以下步驟操作:
匯入所需的庫OpenCV。確保您已經安裝了它。
使用cv2.imread()方法讀取輸入影像。指定影像的完整路徑。
定義alpha(它控制對比度)和beta(它控制亮度),並呼叫convertScaleAbs()函式來更改影像的對比度和亮度。此函式返回具有調整後的對比度和亮度的影像。或者,我們也可以使用cv2.addWeighted()方法來更改對比度和亮度。
顯示對比度和亮度調整後的影像。
讓我們看看更改影像對比度和亮度的示例。
輸入影像
我們將在下面的示例中使用以下影像作為輸入檔案。

示例
在這個Python程式中,我們使用cv2.convertScaleAbs()方法更改輸入影像的對比度和亮度。
# import the required library
import cv2

# read the input image
image = cv2.imread('food1.jpg')

# define the alpha and beta
alpha = 1.5 # Contrast control
beta = 10 # Brightness control

# call convertScaleAbs function
adjusted = cv2.convertScaleAbs(image, alpha=alpha, beta=beta)

# display the output image
cv2.imshow('adjusted', adjusted)
cv2.waitKey()
cv2.destroyAllWindows()
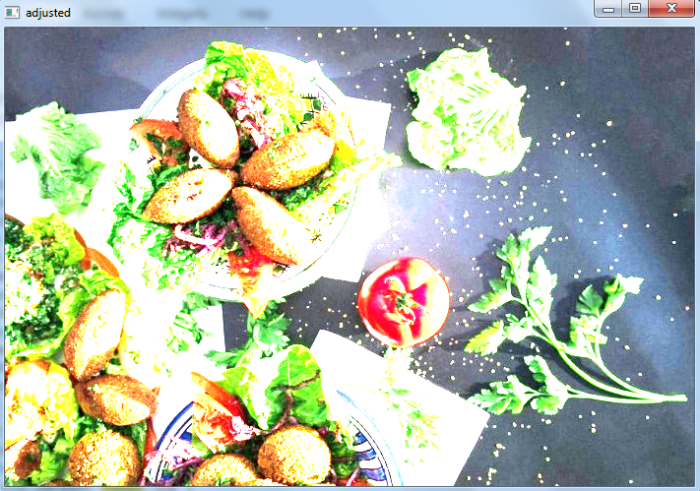
輸出
執行上述程式碼時,將生成以下輸出視窗:
示例
在這個Python程式中,我們使用cv2.addWeighted()方法更改輸入影像的對比度和亮度。
# import required library
import cv2

# read the input image
img = cv2.imread('food1.jpg')

# define the contrast and brightness value
contrast = 5. # Contrast control ( 0 to 127)
brightness = 2. # Brightness control (0-100)

# call addWeighted function. use beta = 0 to effectively only
operate on one image
out = cv2.addWeighted( img, contrast, img, 0, brightness)

# display the image with changed contrast and brightness
cv2.imshow('adjusted', out)
cv2.waitKey(0)
cv2.destroyAllWindows()
輸出
執行上述程式碼時,將生成以下輸出視窗。


更新於:2023年8月26日
44K+ 次檢視

廣告