
 資料結構
資料結構 網路
網路 關係型資料庫管理系統
 作業系統
作業系統 Java
Java iOS
iOS HTML
HTML CSS
CSS Android
 Python
 C 程式設計
 C++
C++ C#
C# MongoDB
 MySQL
MySQL Javascript
 PHP
PHP如何在 Android 應用中開啟 Google Play 商店?
簡介
在 Android 應用中,我們經常會看到使用者身份驗證收到的 OTP 會自動檢測並自動新增到應用中。使用者無需手動新增 OTP。這可以透過廣播接收器在 Android 應用中實現。本文將介紹如何在 Android 應用中監聽傳入的簡訊。
實現
我們將建立一個簡單的應用,其中我們將顯示兩個 TextView。第一個 TextView 用於顯示應用標題。第二個 TextView 將用於顯示收到的簡訊。現在讓我們轉到 Android Studio 建立一個新專案。
步驟 1:在 Android Studio 中建立一個新專案
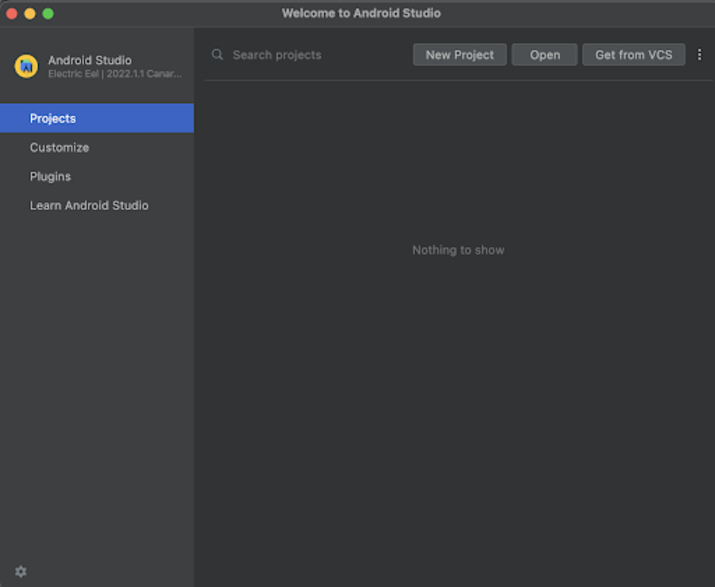
導航到 Android Studio,如下面的螢幕所示。在下面的螢幕中,點選“新建專案”以建立一個新的 Android Studio 專案。
點選“新建專案”後,您將看到下面的螢幕。
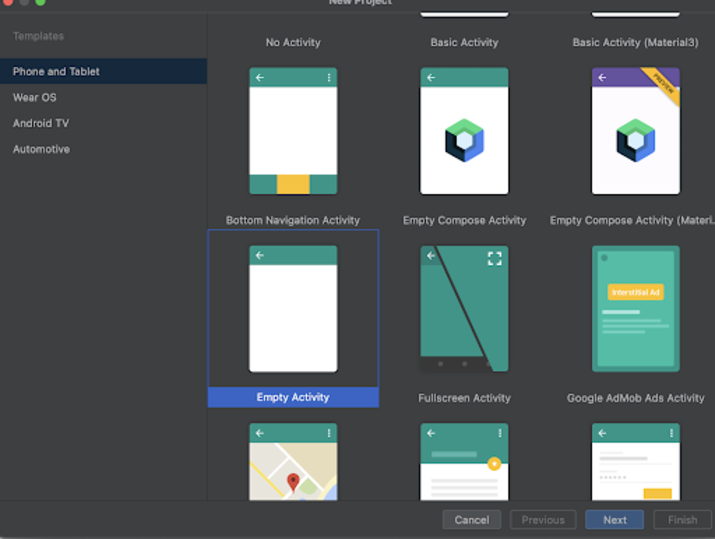
在這個螢幕中,我們只需選擇“空活動”並點選“下一步”。點選“下一步”後,您將看到下面的螢幕。

在這個螢幕中,我們只需指定專案名稱。然後包名將自動生成。
注意:請確保選擇 Java 作為語言。
指定所有詳細資訊後,點選“完成”以建立一個新的 Android Studio 專案。
專案建立完成後,我們將看到兩個開啟的檔案,即 activity_main.xml 和 MainActivity.java 檔案。
步驟 2:使用 activity_main.xml
導航到 activity_main.xml。如果此檔案不可見,要開啟此檔案,請在左側窗格中導航到 app>res>layout>activity_main.xml 以開啟此檔案。開啟此檔案後,將以下程式碼新增到其中。程式碼中添加了註釋以詳細瞭解。
<?xml version="1.0" encoding="utf-8"?>
<RelativeLayout xmlns:android="http://schemas.android.com/apk/res/android"
   xmlns:app="http://schemas.android.com/apk/res-auto"
   xmlns:tools="http://schemas.android.com/tools"
   android:layout_width="match_parent"
   android:layout_height="match_parent"
   tools:context=".MainActivity">
   <!--creating a text view on below line-->
   <TextView
       android:id="@+id/idTVHeading"
       android:layout_width="match_parent"
       android:layout_height="wrap_content"
       android:layout_centerInParent="true"
       android:layout_marginStart="20dp"
       android:layout_marginTop="20dp"
       android:layout_marginEnd="20dp"
       android:layout_marginBottom="20dp"
       android:padding="4dp"
       android:text="Listen Incoming SMS Message in Android"
       android:textAlignment="center"
       android:textColor="@color/black"
       android:textSize="20sp"
       android:textStyle="bold" />
   <!--creating a text view on below line-->
   <TextView
       android:id="@+id/idTVMessage"
       android:layout_width="match_parent"
       android:layout_height="wrap_content"
       android:layout_below="@id/idTVHeading"
       android:layout_centerInParent="true"
       android:layout_marginStart="20dp"
       android:layout_marginTop="20dp"
       android:layout_marginEnd="20dp"
       android:layout_marginBottom="20dp"
       android:padding="4dp"
       android:text="Message will appear here"
       android:textAlignment="center"
       android:textColor="@color/black"
       android:textSize="20sp"
       android:textStyle="bold" />
</RelativeLayout>
說明:在上面的程式碼中,我們建立了一個根佈局作為相對佈局。在此佈局中,我們建立一個 TextView 用於顯示應用的標題。然後,我們建立一個按鈕,點選該按鈕將開啟 Google Play 商店應用。現在讓我們轉到 MainActivity.java 檔案為該按鈕新增功能。
步驟 3:使用 MainActivity.java 檔案
導航到 MainActivity.java。如果此檔案不可見,要開啟此檔案,請在左側窗格中導航到 app>res>layout>MainActivity.java 以開啟此檔案。開啟此檔案後,將以下程式碼新增到其中。程式碼中添加了註釋以詳細瞭解。
package com.example.java_test_application;
import android.content.Intent;
import android.net.Uri;
import android.os.Bundle;
import android.view.View;
import android.widget.Button;
import androidx.appcompat.app.AppCompatActivity;
public class MainActivity extends AppCompatActivity {
   // creating variable for button on below line.
   private Button openPlayBtn;
   @Override
   protected void onCreate(Bundle savedInstanceState) {
       super.onCreate(savedInstanceState);
       setContentView(R.layout.activity_main);
       // initializing variables for button on below line.
       openPlayBtn = findViewById(R.id.idBtnOpenGooglePlay);
       // adding click listener for button on below line.
       openPlayBtn.setOnClickListener(new View.OnClickListener() {
           @Override
           public void onClick(View v) {
               // on below line we are creating the uri to open google play store to open google maps application
               Uri uri = Uri.parse("https://play.google.com/store/apps/details?id=com.google.android.apps.maps");
               // initializing intent with action view.
               Intent i = new Intent(Intent.ACTION_VIEW, uri);
               // set flags on below line.
               i.setFlags(Intent.FLAG_ACTIVITY_NEW_TASK);
               // on below line we are starting the activity.
               startActivity(i);
           }
       });
   }
}
說明:在上面的程式碼中,首先我們為按鈕建立變數。現在我們將看到 onCreate 方法。這是每個 Android 應用的預設方法。當應用檢視建立時,將呼叫此方法。在此方法中,我們設定內容檢視,即名為 activity_main.xml 的佈局檔案,以從該檔案中設定 UI。在 onCreate 方法中,我們使用我們在 activity_main.xml 檔案中給出的 id 初始化按鈕和 EditText 的變數。然後,我們為按鈕新增一個點選監聽器。在點選監聽器中,我們建立要開啟的 URI。我們傳遞 Google Play 商店的網頁 URL。然後,我們使用 action 作為 action_view 建立一個 Intent。然後,我們為該 Intent 設定標誌。最後,我們呼叫 startActivity 以開啟 Google Play 商店。
新增上述程式碼後,我們只需點選頂部的綠色圖示即可在移動裝置上執行我們的應用。
注意:請確保已連線到您的真實裝置或模擬器。
輸出

結論
在本文中,我們介紹瞭如何在 Android 應用中開啟 Google Play 商店。

653 次瀏覽
