
 資料結構
資料結構 網路
網路 關係資料庫管理系統
 作業系統
作業系統 Java
Java iOS
iOS HTML
HTML CSS
CSS Android
 Python
 C 程式設計
 C++
C++ C#
C# MongoDB
 MySQL
MySQL Javascript
 PHP
PHP如何在 iOS 中以固定的時間間隔重複執行任務
Apple 預定義了 Timer 類,該類在經過一定時間間隔後觸發,向目標物件傳送指定的訊息。
要了解更多關於 Timer 類的資訊,您可以檢視 Apple 官方文件:
https://developer.apple.com/documentation/foundation/timer
為了以固定的時間間隔重複執行任務,我們將使用 Timer 類。我們將開發一個示例應用程式,該應用程式每 5 秒列印一次“hello Tutorials Point”。
讓我們開始吧!
步驟 1 − 開啟 Xcode → 新建專案 → 單檢視應用程式 → 命名為“HelloTutotrialsPoint”
步驟 2 − 開啟 ViewController.swift 並在 ViewDidLoad() 下方編寫一個方法 doSomething()。將下面的程式碼複製貼上到您的 doSomething 方法中。
private func doSomething() {
   let timer = Timer.scheduledTimer(timeInterval: 5.0, target: self,
      selector: #selector(ViewController.hello), userInfo: nil, repeats: true)
}
步驟 3:實現/建立 hello(選擇器),如下所示,並在 ViewDidLoad() 中呼叫 doSomething()。
@objc func hello() {
   print("hello")
}
您的最終程式碼應如下所示
import UIKit
class ViewController: UIViewController, UITextFieldDelegate {
override func viewDidLoad() {
super.viewDidLoad()
// Do any additional setup after loading the view, typically from a nib.
self.doSomething()
}
private func doSomething() {
let timer = Timer.scheduledTimer(timeInterval: 5.0, target: self,
selector: #selector(ViewController.hello), userInfo: nil, repeats: true)
}
@objc func hello() {
print("hello")
}
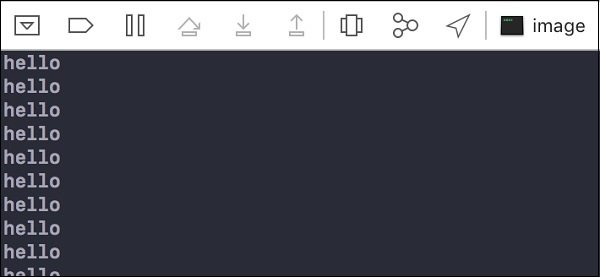
}完成!執行您的應用程式並在控制檯中檢視輸出,您將看到“hello”在 5 秒的時間間隔後列印。

更新於: 2019年7月30日
240 次檢視

廣告