
 資料結構
資料結構 網路
網路 關係型資料庫管理系統
 作業系統
作業系統 Java
Java iOS
iOS HTML
HTML CSS
CSS Android
 Python
 C 程式設計
 C++
C++ C#
C# MongoDB
 MySQL
MySQL Javascript
 PHP
PHP如何在 Android 中使用 XML 檔案定義 GUI 佈局?
簡介
任何 Android 應用程式的 GUI(圖形使用者介面)都允許使用者與 Android 應用程式的各種功能進行互動。GUI 是應用程式的主要部分,對使用者可見。任何 Android 應用程式的 GUI 可以透過多種不同的方式設計,例如使用 XML、Dart、Kotlin 等等。在本文中,我們將瞭解如何使用 XML 檔案定義 Android 應用程式的 GUI 佈局。
實現
我們將建立一個簡單的應用程式,其中我們將建立一個 TextView 用於顯示應用程式的標題。然後我們將建立一個 ImageView 和另一個 TextView 用於顯示應用程式的 UI。現在讓我們轉向 Android Studio 建立一個新專案。
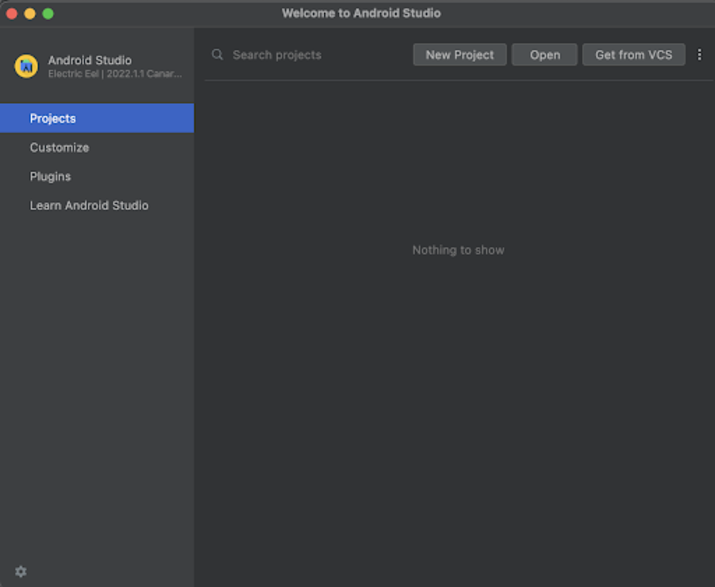
步驟 1:在 Android Studio 中建立新專案
導航到 Android Studio,如下面的螢幕截圖所示。在下面的螢幕中,單擊“新建專案”以建立一個新的 Android Studio 專案。
單擊“新建專案”後,您將看到下面的螢幕。
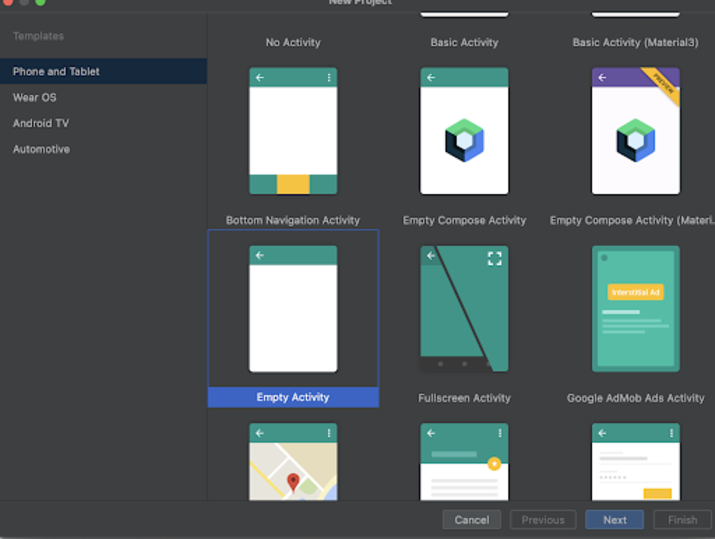
在此螢幕中,我們只需選擇“空活動”並單擊“下一步”。單擊“下一步”後,您將看到下面的螢幕。
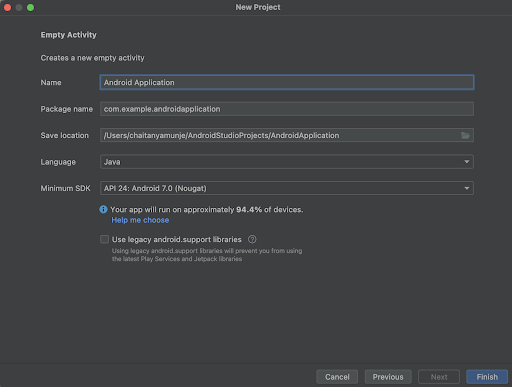
在此螢幕中,我們只需指定專案名稱。然後包名將自動生成。
注意 - 確保將語言選擇為 Java。
指定所有詳細資訊後,單擊“完成”以建立一個新的 Android Studio 專案。
建立專案後,我們將看到兩個開啟的檔案,即 activity_main.xml 和 MainActivity.java 檔案。
步驟 2:使用 activity_main.xml
導航到 activity_main.xml。如果此檔案不可見,則要開啟此檔案,在左側窗格中導航到 app>res>layout>activity_main.xml 以開啟此檔案。開啟此檔案後,將以下程式碼新增到其中。程式碼中添加了註釋以詳細瞭解。
<?xml version="1.0" encoding="utf-8"?>
<RelativeLayout xmlns:android="http://schemas.android.com/apk/res/android"
   xmlns:app="http://schemas.android.com/apk/res-auto"
   xmlns:tools="http://schemas.android.com/tools"
   android:layout_width="match_parent"
   android:layout_height="match_parent">

   <!-- on below line creating a text view for displaying heading of the application -->
   <TextView
       android:id="@+id/idTVHeading"
       android:layout_width="match_parent"
       android:layout_height="wrap_content"
       android:layout_above="@id/idIVImage"
       android:layout_margin="20dp"
       android:padding="4dp"
       android:text="GUI Layout using XML in Android"
       android:textAlignment="center"
       android:textColor="@color/black"
       android:textSize="20sp"
       android:textStyle="bold" />

   <!-- on below line creating an image view for defining the GUI of the application -->
   <ImageView
       android:id="@+id/idIVImage"
       android:layout_width="200dp"
       android:layout_height="200dp"
       android:layout_centerInParent="true"
       android:layout_margin="20dp"
       android:src="@drawable/ic_android" />

   <!-- on below line creating a tet view for defining the GUI of the application -->
   <TextView
       android:id="@+id/idTVMessage"
       android:layout_width="match_parent"
       android:layout_height="wrap_content"
       android:layout_below="@id/idIVImage"
       android:layout_margin="20dp"
       android:gravity="center"
       android:text="Good Morning."
       android:textAlignment="center"
       android:textAllCaps="false"
       android:textColor="@color/black"
       android:textDirection="ltr"
       android:textSize="20sp"
       android:textStyle="normal" />
</RelativeLayout>
說明 - 在上面的程式碼中,我們正在建立一個根佈局作為相對佈局。在此佈局中,我們正在建立一個 TextView,用於顯示應用程式的標題。之後,我們建立了一個 ImageView,在其中顯示 Android 的影像。最後,我們建立了一個 TextView,在其中顯示文字檢視。最後,我們為相對佈局添加了一個結束標籤。
新增上述程式碼後,我們只需單擊頂部欄中的綠色圖示即可在移動裝置上執行我們的應用程式。
注意 - 確保您已連線到您的真實裝置或模擬器。
輸出
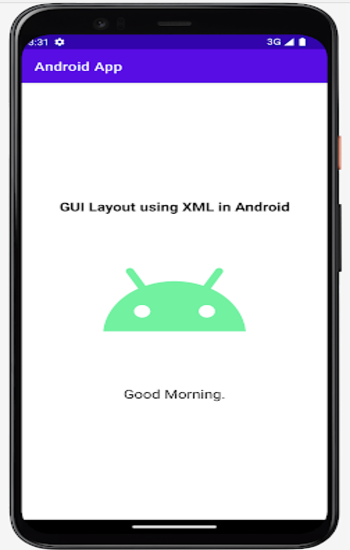
結論
在本文中,我們瞭解瞭如何在 Android 中使用 XML 檔案定義 Android 應用程式的 GUI 佈局。

407 次檢視
