
 資料結構
資料結構 網路
網路 關係型資料庫管理系統
 作業系統
作業系統 Java
Java iOS
iOS HTML
HTML CSS
CSS Android
 Python
 C 語言程式設計
 C++
C++ C#
C# MongoDB
 MySQL
MySQL Javascript
 PHP
PHP在 Tkinter 中顯示來自 URL 的影像
在 Tkinter GUI 應用程式中顯示影像可以極大地增強視覺吸引力和使用者體驗。雖然 Tkinter 提供了各種用於處理影像的工具,但直接從 URL 顯示影像需要額外的步驟。在本文中,我們將探討如何使用 Python 影像庫 (PIL) 在 Tkinter 中從 URL 獲取和顯示影像。我們將學習如何處理 URL 請求、處理影像資料並在 Tkinter 視窗中顯示影像。在本文結束時,您將清楚地瞭解如何在 Tkinter 應用程式中動態獲取和顯示來自網路的影像,從而為將即時或遠端影像整合到您的 GUI 設計中開啟可能性。
使用 PIL 庫
要在 Tkinter 中從 URL 顯示影像,我們需要使用 PIL (Python 影像庫) 庫。它提供了強大的影像處理功能並支援各種影像格式。要安裝 PIL,您可以使用以下命令:
pip install Pillow
安裝 PIL 後,我們可以繼續進行實現。
# Import neccessary libraries
from PIL import ImageTk, Image
import tkinter as tk
import urllib.request

def display_image_from_url(url):
   with urllib.request.urlopen(url) as u:
      raw_data = u.read()

   image = Image.open(io.BytesIO(raw_data))
   photo = ImageTk.PhotoImage(image)

   # Create a Tkinter window
   root = tk.Tk()

   # Create a label widget to display the image
   label = tk.Label(root, image=photo)
   label.pack()

   # Start the Tkinter event loop
   root.mainloop()

# Example usage
display_image_from_url("https://tutorialspoint.tw/python_pillow/images/tutorials_point.jpg")
讓我們逐步瞭解程式碼:
我們匯入必要的庫:來自 PIL 模組的 ImageTk 和 Image,tkinter 和 urllib.request。
display_image_from_url 函式以 URL 作為輸入。
我們使用 urllib.request 中的 urlopen 函式從指定的 URL 獲取影像資料。
影像資料以原始位元組讀取。
我們使用 Image.open 建立一個 Image 物件,傳遞一個包裝原始資料的 BytesIO 物件。
使用 ImageTk.PhotoImage,我們建立一個與 Tkinter 相容的影像物件。
我們使用 tk.Tk() 建立一個 Tkinter 視窗。
我們建立一個 Label 控制元件並將 Tkinter 影像物件分配給它的 image 引數。
該標籤使用 pack() 打包到視窗中。
最後,Tkinter 事件迴圈使用 root.mainloop() 啟動。
此程式碼從指定的 URL 獲取影像,並使用 Label 控制元件將其顯示在 Tkinter 視窗中。
處理異常
從 URL 獲取影像時,務必處理潛在的異常,以防止應用程式崩潰或出現意外行為。讓我們修改之前的程式碼以優雅地處理異常:
示例
# Import neccessary libraries
from PIL import ImageTk, Image
import tkinter as tk
import urllib.request
import io

# Define function to fetch images from url and exception handling
def display_image_from_url(url):
   root = tk.Tk()
   root.title("Displaying Images from URL in Tkinter")
   root.geometry("700x400")
   try:
      with urllib.request.urlopen(url) as u:
         raw_data = u.read()
   except Exception as e:
      print(f"Error fetching image: {e}")
      return

   try:
      image = Image.open(io.BytesIO(raw_data))
      photo = ImageTk.PhotoImage(image)
   except Exception as e:
      print(f"Error opening image: {e}")
      return
# creating labels and Run the Tkinter event loop

   label = tk.Label(root, image=photo)
   label.pack()
   root.mainloop()

# Example usage
display_image_from_url("https://tutorialspoint.tw/python_pillow/images/tutorials_point.jpg")
在上面的程式碼中,我們將獲取影像並建立 Image 和 PhotoImage 物件的程式碼包含在單獨的 try-except 塊中。如果在這些操作期間發生異常,則列印相應的錯誤訊息,並且函式返回。這樣,我們可以優雅地處理錯誤,並確保即使影像獲取或處理失敗,應用程式也能繼續執行。
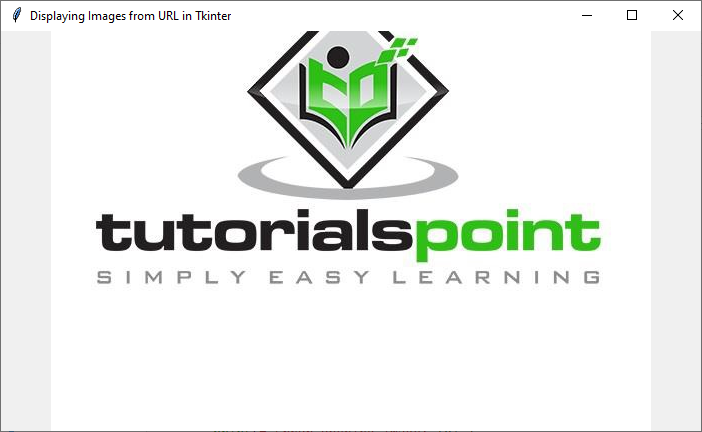
輸出
執行上述程式碼後,您將獲得以下 Tkinter 視窗,其中包含給定 URL 處的影像:
結論
總之,在 Tkinter 中顯示來自 URL 的影像使我們能夠將動態和遠端影像引入我們的 GUI 應用程式。透過利用 Python 影像庫 (PIL) 和 Tkinter 的強大功能,我們可以從 URL 獲取影像資料、處理它並在 Tkinter 視窗中使用適當的控制元件顯示它。我們學習瞭如何處理 URL 請求、處理異常並建立視覺上吸引人的使用者介面。憑藉從本文獲得的知識,您現在可以透過直接從網絡合並影像來增強您的 Tkinter 應用程式。無論是從線上商店獲取和顯示產品影像,還是從網路攝像頭展示即時影像,從 URL 顯示影像的能力都為您的 GUI 設計增添了多樣性和互動性。因此,請繼續探索 Tkinter 中的遠端影像世界,以建立引人入勝且動態的使用者體驗。

2K+ 瀏覽量
