
 資料結構
資料結構 網路
網路 關係資料庫管理系統(RDBMS)
 作業系統
作業系統 Java
Java iOS
iOS HTML
HTML CSS
CSS Android
 Python
 C語言程式設計
 C++
C++ C#
C# MongoDB
 MySQL
MySQL Javascript
 PHP
PHP使用OpenCV與Tkinter
OpenCV是一個Python庫,用於處理計算機視覺和其他人工製品。OpenCV具有內建函式和方法,可以訪問人工智慧和機器學習中的計算機視覺功能。一些OpenCV的示例包括:人臉檢測、物體檢測、X射線和其他工業用途。
使用Tkinter庫,我們可以建立一個互動式應用程式,該應用程式使用OpenCV作為其核心部分。
要建立該應用程式,您需要在本地機器上安裝OpenCV,並確保已預安裝Python Pillow包。您可以在筆記本中鍵入以下命令來安裝這些包。
pip install open-cv
pip install Pillow
安裝完成後,我們可以開始建立應用程式的結構和GUI。我們的應用程式的基本功能是使用OpenCV開啟網路攝像頭(如果可能)。因此,為了顯示每一幀捕獲的影像,我們可以使用Python Pillow(PIL)包,它將幀轉換為影像。現在,該影像可以在標籤小部件中使用,該小部件迭代地顯示視窗中捕獲的每一幀。
示例
# Import required Libraries
from tkinter import *
from PIL import Image, ImageTk
import cv2
# Create an instance of TKinter Window or frame
win= Tk()
# Set the size of the window
win.geometry("700x350")# Create a Label to capture the Video frames
label =Label(win)
label.grid(row=0, column=0)
cap= cv2.VideoCapture(0)
# Define function to show frame
def show_frames():
# Get the latest frame and convert into Image
cv2image= cv2.cvtColor(cap.read()[1],cv2.COLOR_BGR2RGB)
img = Image.fromarray(cv2image)
# Convert image to PhotoImage
imgtk = ImageTk.PhotoImage(image = img)
label.imgtk = imgtk
label.configure(image=imgtk)
# Repeat after an interval to capture continiously
label.after(20, show_frames)
show_frames()
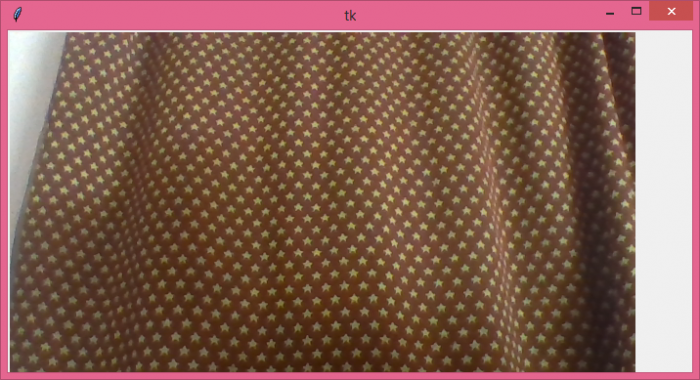
win.mainloop()輸出
當我們執行上述程式碼時,它將顯示一個視窗,該視窗開啟使用者攝像頭以捕獲幀。

更新於:2021年6月7日
7000+ 次瀏覽

廣告