
 資料結構
資料結構 網路
網路 關係型資料庫管理系統
 作業系統
作業系統 Java
Java iOS
iOS HTML
HTML CSS
CSS Android
 Python
 C 程式設計
 C++
C++ C#
C# MongoDB
 MySQL
MySQL Javascript
 PHP
PHPHTML DOM Input Number readOnly 屬性
HTML DOM input number readOnly 屬性會在 HTML 文件中返回並修改數字輸入框是隻讀還是可寫。
語法
以下是語法 −
返回 readOnly
object.readOnly
修改 readOnly
object.readOnly = true | false
示例
我們來看看數字輸入的 readOnly 屬性示例 −
<!DOCTYPE html>
<html>
<head>
<style>
html{
height:100%;
}
body{
text-align:center;
color:#fff;
background: linear-gradient(62deg, #FBAB7E 0%, #F7CE68 100%) center/cover no-repeat;
height:100%;
}
p{
font-weight:700;
font-size:1.1rem;
}
input{
display:block;
width:35%;
border:2px solid #fff;
background-color:transparent;
color:#fff;
font-weight:bold;
padding:8px;
margin:1rem auto;
outline:none;
}
.btn{
background:#0197F6;
border:none;
height:2rem;
border-radius:2px;
width:35%;
margin:2rem auto;
display:block;
color:#fff;
outline:none;
cursor:pointer;
}
</style>
</head>
<body>
<h1>DOM Input number readOnly property Demo</h1>
<p>Hi, Select your day of birth?</p>
<input type="number" class="numberInput">
<button onclick="rFunction()" class="btn">Read Only</button>
<button onclick="rWFunction()" class="btn">Read & Write</button>
<script>
function rFunction() {
var monthInput = document.querySelector(".numberInput");
monthInput.readOnly =true;
}
function rWFunction(){
var monthInput = document.querySelector(".numberInput");
monthInput.readOnly =false;
}
</script>
</body>
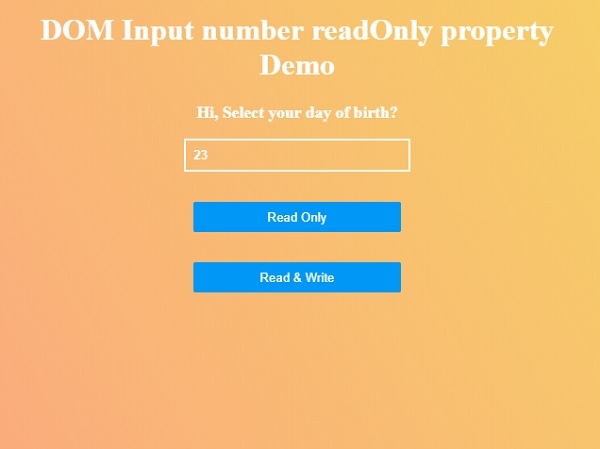
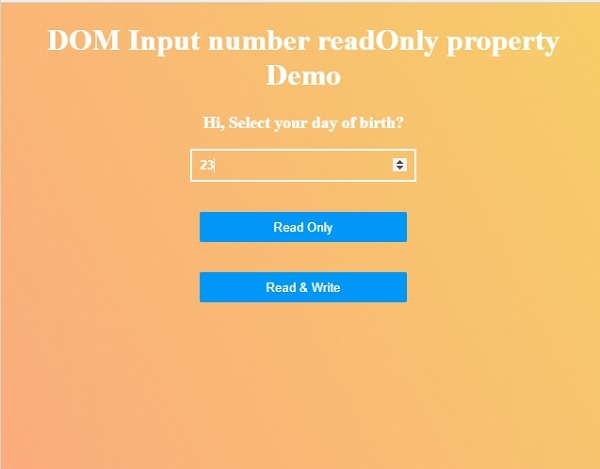
</html>輸出
將產生如下輸出 −
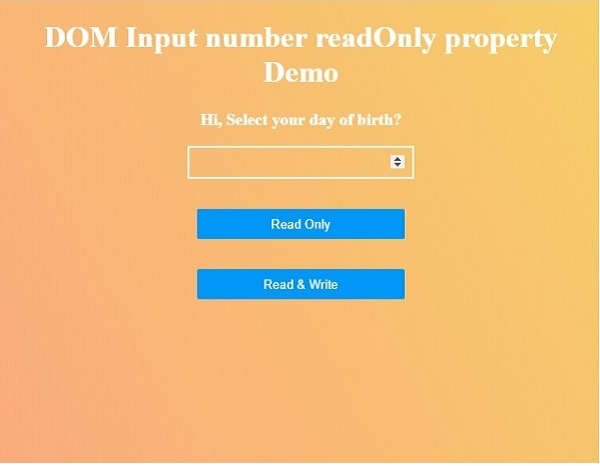
點選“只讀”然後點選“讀寫”按鈕來了解 readOnly 屬性如何工作。

更新於: 01-7 月-2020
123 檢視

廣告