
 資料結構
資料結構 網路
網路 RDBMS
RDBMS 作業系統
作業系統 Java
Java iOS
iOS HTML
HTML CSS
CSS Android
 Python
 C 程式設計
 C++
C++ C#
C# MongoDB
 MySQL
MySQL Javascript
 PHP
PHP如何在 JavaScript 中在影像上傳之前預覽它?
要在 JavaScript 中上傳影像,請使用 FileReader()。以下是 JavaScript 程式碼 -
示例
<!DOCTYPE html>
<html lang="en">
<head>
<meta charset="UTF-8">
<meta name="viewport" content="width=device-width, initial-scale=1.0">
<title>Document</title>
<link rel="stylesheet" href="//code.jquery.com/ui/1.12.1/themes/base/jquery-ui.css">
<script src="https://code.jquery.com/jquery-1.12.4.js"></script>
<script src="https://code.jquery.com/ui/1.12.1/jquery-ui.js"></script>
</head>
<body>
<form runat="server">
<input type='file' id="yourImage" />
<img id="chooseImage" src="#" alt="image" />
</form>
<script>
function readImage(fileInput) {
if (fileInput.files && fileInput.files[0]) {
var takingInputFile = new FileReader();
takingInputFile.onload = function(event) {
$('#chooseImage').attr('src', event.target.result);
}
takingInputFile.readAsDataURL(fileInput.files[0]);
}
}
$("#yourImage").change(function() {
readImage(this);
});
</script>
</body>
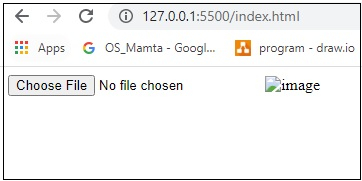
</html>要執行以上程式,請儲存檔名 anyName.html(index.html) 並右鍵單擊檔案,然後選擇 使用 VS 程式碼編輯器中的即時伺服器開啟。
輸出

更新於:2020-07-16
176 檢視次數

廣告