
 資料結構
資料結構 網路
網路 關係資料庫管理系統 (RDBMS)
 作業系統
作業系統 Java
Java iOS
iOS HTML
HTML CSS
CSS Android
 Python
 C語言程式設計
 C++
C++ C#
C# MongoDB
 MySQL
MySQL Javascript
 PHP
PHP使用Python OpenCV模組在影像上繪製幾何形狀
OpenCV 的基本操作是在影像上繪圖。它能夠新增各種幾何形狀,例如直線、圓形和矩形等。
在進行影像分析時,我們經常需要突出顯示影像的某個部分,例如新增一個定義該部分的矩形。或者用箭頭指示某些內容。
cv2.line() − 此函式用於在影像上繪製直線。
cv2.rectangle() − 此函式用於在影像上繪製矩形。
cv2.circle() − 此函式用於在影像上繪製圓形。
cv2.putText() − 此函式用於在影像上寫入文字。
cv2.ellipse() − 此函式用於在影像上繪製橢圓。
示例程式碼
import numpy as np
import cv2
my_img = np.zeros((350, 350, 3), dtype = "uint8")
cv2.imshow('Window', my_img)
cv2.waitKey(0)
cv2.destroyAllWindows()
輸出
繪製直線
要繪製直線,可以使用 cv2.line() 函式。此函式接受五個引數:
- 要繪製圖像的影像物件
- 起始點座標 (x, y)
- 結束點座標 (x, y)
- 筆觸顏色,使用 BGR (注意,不是 RGB)
- 筆觸粗細(以畫素為單位)
示例程式碼
import numpy as np
import cv2
my_img = np.zeros((350, 350, 3), dtype = "uint8")
# creating for line
cv2.line(my_img, (202, 220), (100, 160), (0, 20, 200), 10)
cv2.imshow('Window', my_img)
cv2.waitKey(0)
cv2.destroyAllWindows()
輸出

繪製矩形
要繪製矩形,可以使用 cv2.rectangle() 函式。此函式接受五個輸入引數。
- 要繪製圖像的影像物件
- 左上角頂點的座標 (x, y)
- 右下角頂點的座標 (x, y)
- 筆觸顏色,使用 BGR (注意,不是 RGB)
- 筆觸粗細(以畫素為單位)
示例程式碼
import numpy as np
import cv2
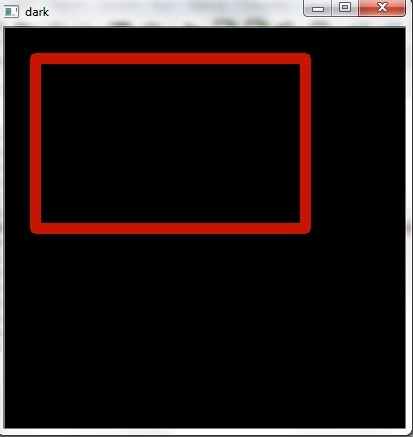
my_img = np.zeros((400, 400, 3), dtype = "uint8")
# creating a rectangle
cv2.rectangle(my_img, (30, 30), (300, 200), (0, 20, 200), 10)
cv2.imshow('Window', my_img)
# allows us to see image
# until closed forcefully
cv2.waitKey(0)
cv2.destroyAllWindows()
輸出
繪製圓形
要繪製圓形,可以使用 cv2.circle() 函式。此函式接受五個輸入引數。
- 要繪製圖像的影像物件
- 中心座標 (x, y)
- 圓形的半徑
- 筆觸顏色,使用 BGR (注意,不是 RGB)
- 筆觸粗細(以畫素為單位)
示例程式碼
import numpy as np
import cv2
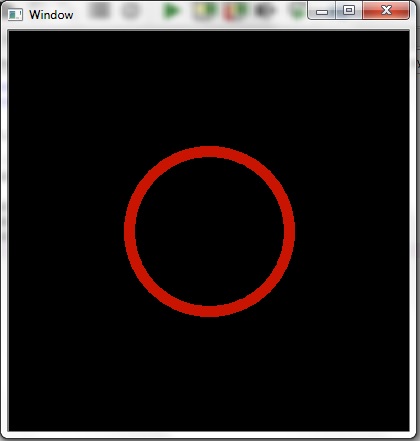
my_img = np.zeros((400, 400, 3), dtype = "uint8")
# creating circle
cv2.circle(my_img, (200, 200), 80, (0, 20, 200), 10)
cv2.imshow('Window', my_img)
cv2.waitKey(0)
cv2.destroyAllWindows()
輸出
繪製橢圓
要繪製橢圓,可以使用 cv2.ellipse() 函式。此函式接受八個輸入引數。
- 要繪製圖像的影像物件
- 中心座標 (x, y)
- 短軸和長軸的長度 (h, w)
- 橢圓的旋轉角度(逆時針計算)
- 起始角度(順時針計算)
- 結束角度(順時針計算)
- 筆觸顏色,使用 BGR (注意,不是 RGB)
- 筆觸粗細
示例程式碼
import numpy as np
import cv2
my_img = np.zeros((400, 400, 3), dtype = "uint8")
# creating for rectangle
cv2.ellipse(my_img,(256,256),(100,50),0,0,180,255,-1)
cv2.imshow('Window', my_img)
# allows us to see image
# until closed forcefully
cv2.waitKey(0)
cv2.destroyAllWindows()
輸出

繪製多邊形
要繪製多邊形,可以使用 cv2.polylines() 函式。此函式需要五個引數。
- 要繪製圖像的影像物件
- 座標陣列
- 如果它是閉合線,則為 True
- 筆觸顏色
- 筆觸粗細
示例程式碼
import numpy as np
import cv2
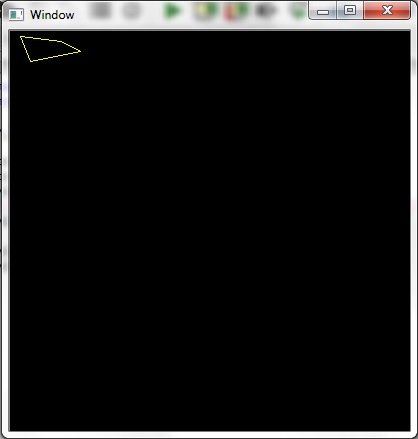
my_img = np.zeros((400, 400, 3), dtype = "uint8")
pts = np.array([[10,5],[20,30],[70,20],[50,10]], np.int32)
pts = pts.reshape((-1,1,2))
cv2.polylines(my_img,[pts],True,(0,255,255))
cv2.imshow('Window', my_img)
cv2.waitKey(0)
cv2.destroyAllWindows()
輸出
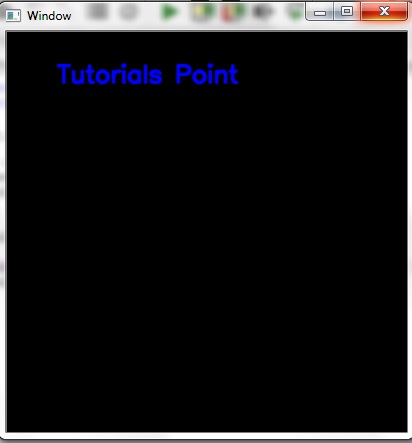
繪製文字
要使用 OpenCV 寫入文字,可以使用 cv2.putText() 函式,它接受多個引數。
- 要繪製圖像的影像
- 要寫入的文字
- 文字起始點的座標
- 要使用的字型
- 字型大小
- 文字顏色
- 文字粗細
- 使用的線條型別
示例程式碼
import numpy as np
import cv2
my_img = np.zeros((400, 400, 3), dtype = "uint8")
# Writing text
font = cv2.FONT_HERSHEY_SIMPLEX
cv2.putText(my_img, 'Tutorials Point', (50, 50),font, 0.8, (255, 0, 0), 2, cv2.LINE_AA)
cv2.imshow('Window', my_img)
cv2.waitKey(0)
cv2.destroyAllWindows()
輸出

更新於:2019年7月30日
2K+ 瀏覽量

廣告