
 資料結構
資料結構 網路
網路 關係資料庫管理系統 (RDBMS)
 作業系統
作業系統 Java
Java iOS
iOS HTML
HTML CSS
CSS Android
 Python
 C語言程式設計
 C++
C++ C#
C# MongoDB
 MySQL
MySQL Javascript
 PHP
PHP如何在Docker容器中除錯Node.js應用程式?
介紹
自古以來,bug就一直困擾著人類。那時它們導致各種疾病,而如今的bug則是程式中的邏輯錯誤。有時它們也會成為開發人員的噩夢。在這篇文章中,我們將學習如何在Docker容器上建立Node.js應用程式,以及如何將偵錯程式附加到Node應用程式。
什麼是除錯?
除錯就是解決Node.js應用程式程式碼中的問題或錯誤。這個應用程式在執行所有分配的任務時可能會遇到困難。除錯有助於為Node.js應用程式平滑所有這些路徑。這最終有利於終端使用者和公司。
在Ubuntu Linux上安裝Node.js
請按照以下步驟在Ubuntu機器上安裝Node.js。
$sudo apt update
$sudo apt upgrade
現在安裝nodejs
$sudo apt install nodejs
要安裝node包管理器,請使用以下命令。
$sudo apt install npm
使用npx建立NodeJS應用程式
下面我們提供了一個建立Node應用程式的分步指南。其中提到了一些先決條件,讓您瞭解我們正在執行的環境。
Ubuntu Linux
已安裝Node
步驟1:建立目錄
建立一個名為“debug”的目錄,並將其更改為該目錄。
$mkdir debug
$cd debug
檢查您是否在正確的目錄中。
$pwd
輸出
/home/hemant/debug
步驟2:建立Node應用程式
在這裡,我們將使用npx為我們建立一個功能齊全的Node.js應用程式。
示例
$npx create-react-app my_react_app
輸出
npx: installed 16 in 294.361s

Creating a new React + Express app in /home/hemant/debug/my_react_app.

Installing packages. This might take a couple of minutes.

> core-js@2.6.12 postinstall
/home/hemant/debug/my_react_app/node_modules/babelruntime/node_modules/core-js

> node -e "try{require('./postinstall')}catch(e){}"

Thank you for using core-js ( https://github.com/zloirock/core-js ) for polyfilling JavaScript standard library!
> nodemon@1.19.4 postinstall
/home/hemant/debug/my_react_app/node_modules/nodemon

> node bin/postinstall || exit 0
 ╭───────────────────────────────────────────────────────────────╮
 │                                                               │
 │ New major version of npm available! 6.14.17 -> 9.2.0          │
 │ Changelog: https://github.com/npm/cli/releases/tag/v9.2.0     │
 │ Run npm install -g npm to update!                             │
 │                                                               │
 ╰────────────────────────────────────────────────────────────
使用npm建立NodeJS應用程式
為了在您的系統上實現此任務,必須在機器上安裝NodeJS和npm。請按照以下步驟操作並準備目錄結構。所有資料都建立在名為“debug_node”的目錄中。
步驟1:建立一個app.js檔案
將以下程式碼貼上到app.js檔案中。
const express = require('express');
const app = express()
app.get('/', (req, res) => res.send('HELLO TUTORIALSPOINT'));
app.listen(3000, () => {
   console.log('THE LOG OUTUPUT: PORT 3000')
})
步驟2:使用npm初始化
$npm init
這將建立package.json檔案。
步驟3:安裝express
現在我們需要安裝express。
示例
$npm install --save express
輸出
npm WARN config global `--global`, `--local` are deprecated. Use `-- location=global` instead.
added 57 packages in 8m
7 packages are looking for funding
   run `npm fund` for details
在package.json檔案的scripts部分新增start命令。編輯後,package.json程式碼如下所示。
{
   "name": "node_docker",
   "version": "1.0.0",
   "description": "",
   "main": "app.js",
   "scripts": {
      "start": "node app.js",
      "test": "echo "Error: no test specified" && exit 1"
   },
   "author": "",
   "license": "ISC",
   "dependencies": {
      "express": "^4.18.1"
   }
}
步驟4:執行應用程式
示例
$npm run start
輸出
npm WARN config global `--global`, `--local` are deprecated. Use `-- location=global` instead.
> node_docker@1.0.0 start
> node app.js
THE LOG OUTUPUT: PORT 3000
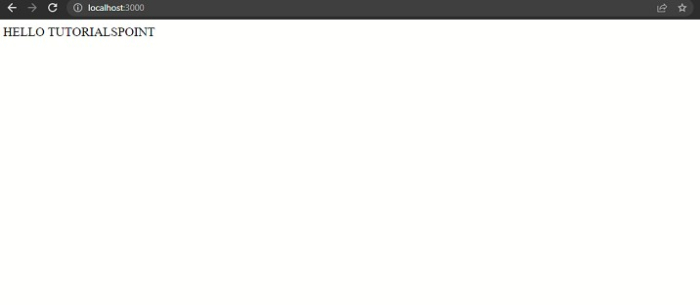
應用程式已成功執行在localhost:3000。
容器化Node應用程式
步驟1:建立一個Dockerfile
下面的Dockerfile將用於構建包含Node應用程式的Node容器。將此檔案命名為Dockerfile,它應該與package.json位於同一級別。
#use the node:9-slim as the base image.
FROM node:9-slim
#set the working directory inside the container.
WORKDIR /app
#copy all the requirements to the working directory.
COPY package.json /app
#install the dependencies
RUN npm install
COPY . /app/
#start the server.
CMD ["npm", "start"]
步驟2:構建映象
示例
$docker build -t node-test .
輸出
[+] Building 2.5s (10/10) FINISHED
=> [internal] load build definition from Dockerfile
0.0s
=> => transferring dockerfile: 339B
0.0s
=> [internal] load .dockerignore
0.0s
=> => transferring context: 2B
0.0s
=> [internal] load metadata for docker.io/library/node:9-slim
1.9s
=> [internal] load build context
0.2s
=> => transferring context: 27.97kB
0.1s
=> [1/5] FROM docker.io/library/node:9-
slim@sha256:288b29c1925d65b2d7d8701f8ada201 0.0s
=> CACHED [2/5] WORKDIR /app
0.0s
=> CACHED [3/5] COPY package.json /app
0.0s
=> CACHED [4/5] RUN npm install
0.0s
=> [5/5] COPY . /app/
0.1s
=> exporting to image
0.1s
=> => exporting layers
0.1s
=> => writing image
sha256:4614d7eb74e7d5e6a1aa1ef5bf7953b53102ee4969d72a0f8d6d12c 0.0s
=> => naming to docker.io/library/node-test
0.0s
步驟3:執行容器
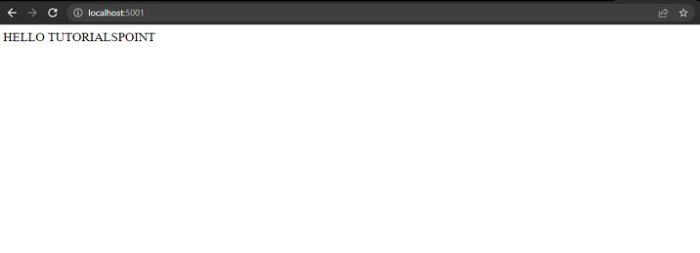
$docker run -itd -p 5001:3000 --name node_container node-test
Output:
b87849ca86fb490e1e2209b1112f6dc6c4a9158bc2c352239ea0127effddf284
檢查容器是否在localhost:5001上執行。
將VScode偵錯程式附加到容器
為了為NodeJS應用程式實現偵錯程式,我們需要在與Node應用程式相同的資料夾中建立一個docker-compose檔案。
步驟1:建立docker-compose檔案
建立一個名為docker-compose.yml的檔案,並貼上以下程式碼。
version: '3'
services:
   node_app:
      build: .
      ports:
         - 5003:3000
         - 9229:9229
      volumes:
         - .:/app
      command: node --inspect=0.0.0.0 app.js
步驟2:啟動compose
docker-compose -f "docker-compose.yml" up
輸出
[+] Building 7.4s (11/11) FINISHED
=> [internal] load build definition from Dockerfile
0.1s
=> => transferring dockerfile: 339B
0.0s
=> [internal] load .dockerignore
0.0s
=> => transferring context: 2B
0.0s
=> [internal] load metadata for docker.io/library/node:9-slim
6.1s
=> [auth] library/node:pull token for registry-1.docker.io
0.0s
=> [1/5] FROM docker.io/library/node:9-
slim@sha256:288b29c1925d65b2d7d8701f8ada201e7dcd066438c0fb4299c35dff129b893
f 0.0s
=> [internal] load build context
0.4s
=> => transferring context: 2.06MB
0.4s
=> CACHED [2/5] WORKDIR /app
0.0s
=> CACHED [3/5] COPY package.json /app
0.0s
=> CACHED [4/5] RUN npm install
0.0s
=> [5/5] COPY . /app/
0.4s
=> exporting to image
0.2s
=> => exporting layers
0.2s
=> => writing image
sha256:9b4397fe271d2de609d46e44f73ff741bd8d736083b171e8c969d81f88ab9778
0.0s
=> => naming to docker.io/library/test_node-node_app
0.0s
Use 'docker scan' to run Snyk tests against images to find vulnerabilities
and learn how to fix them
[+] Running 1/2
- Network test_node_default Created
0.2s
- Container test_node-node_app-1 Creating
0.1s
Error response from daemon: invalid volume specification:
'/run/desktop/mnt/host/c/Users/HP/Desktop/debug_node/TEST_NODE:app:rw':
invalid mount config for type "bind": invalid mount path: 'app' mount path
must be absolute
C:\Users\HP\Desktop\debug_node\TEST_NODE>docker-compose -f "dockercompose.yml" up
[+] Running 1/1
- Container test_node-node_app-1 Created
0.1s
Attaching to test_node-node_app-1
test_node-node_app-1 | Debugger listening on ws://0.0.0.0:9229/d1ede9a1-
85f4-44a7-a7ce-49217508c6ac
test_node-node_app-1 | For help see https://nodejs.com.tw/en/docs/inspector
test_node-node_app-1 | THE LOG OUTUPUT: PORT 3000
步驟3:附加偵錯程式
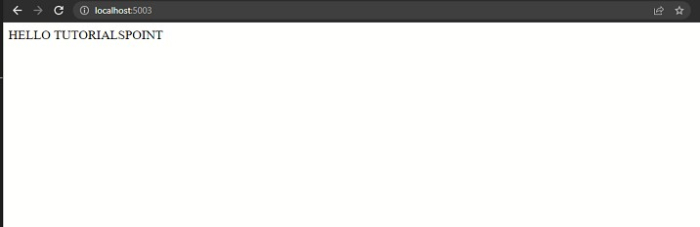
現在檢查兩者是否都在埠上監聽。根據docker-compose檔案,應用程式將在5003埠上,偵錯程式將在9229埠上。
對於Node應用程式:localhost:5003
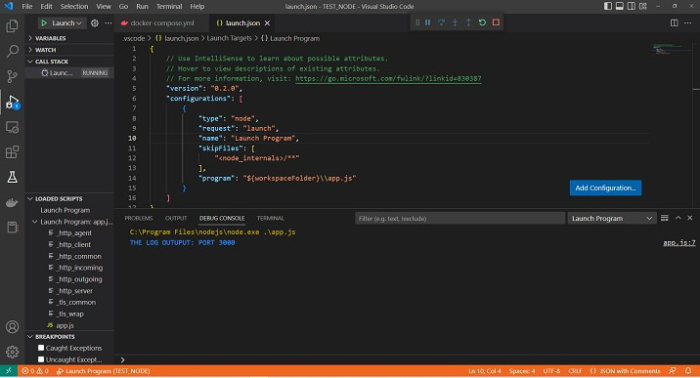
對於除錯,我們將使用vscode。開啟它,選擇偵錯程式擴充套件程式部分,然後選擇建立launch.json。單擊最左側角的播放按鈕,偵錯程式已準備好併成功監聽。
結論
因此,我們成功地連線到Visual Studio Code中的偵錯程式。我們也可以使用exec命令直接檢查容器。

826 次瀏覽
